AGENTIC ENGINEERING
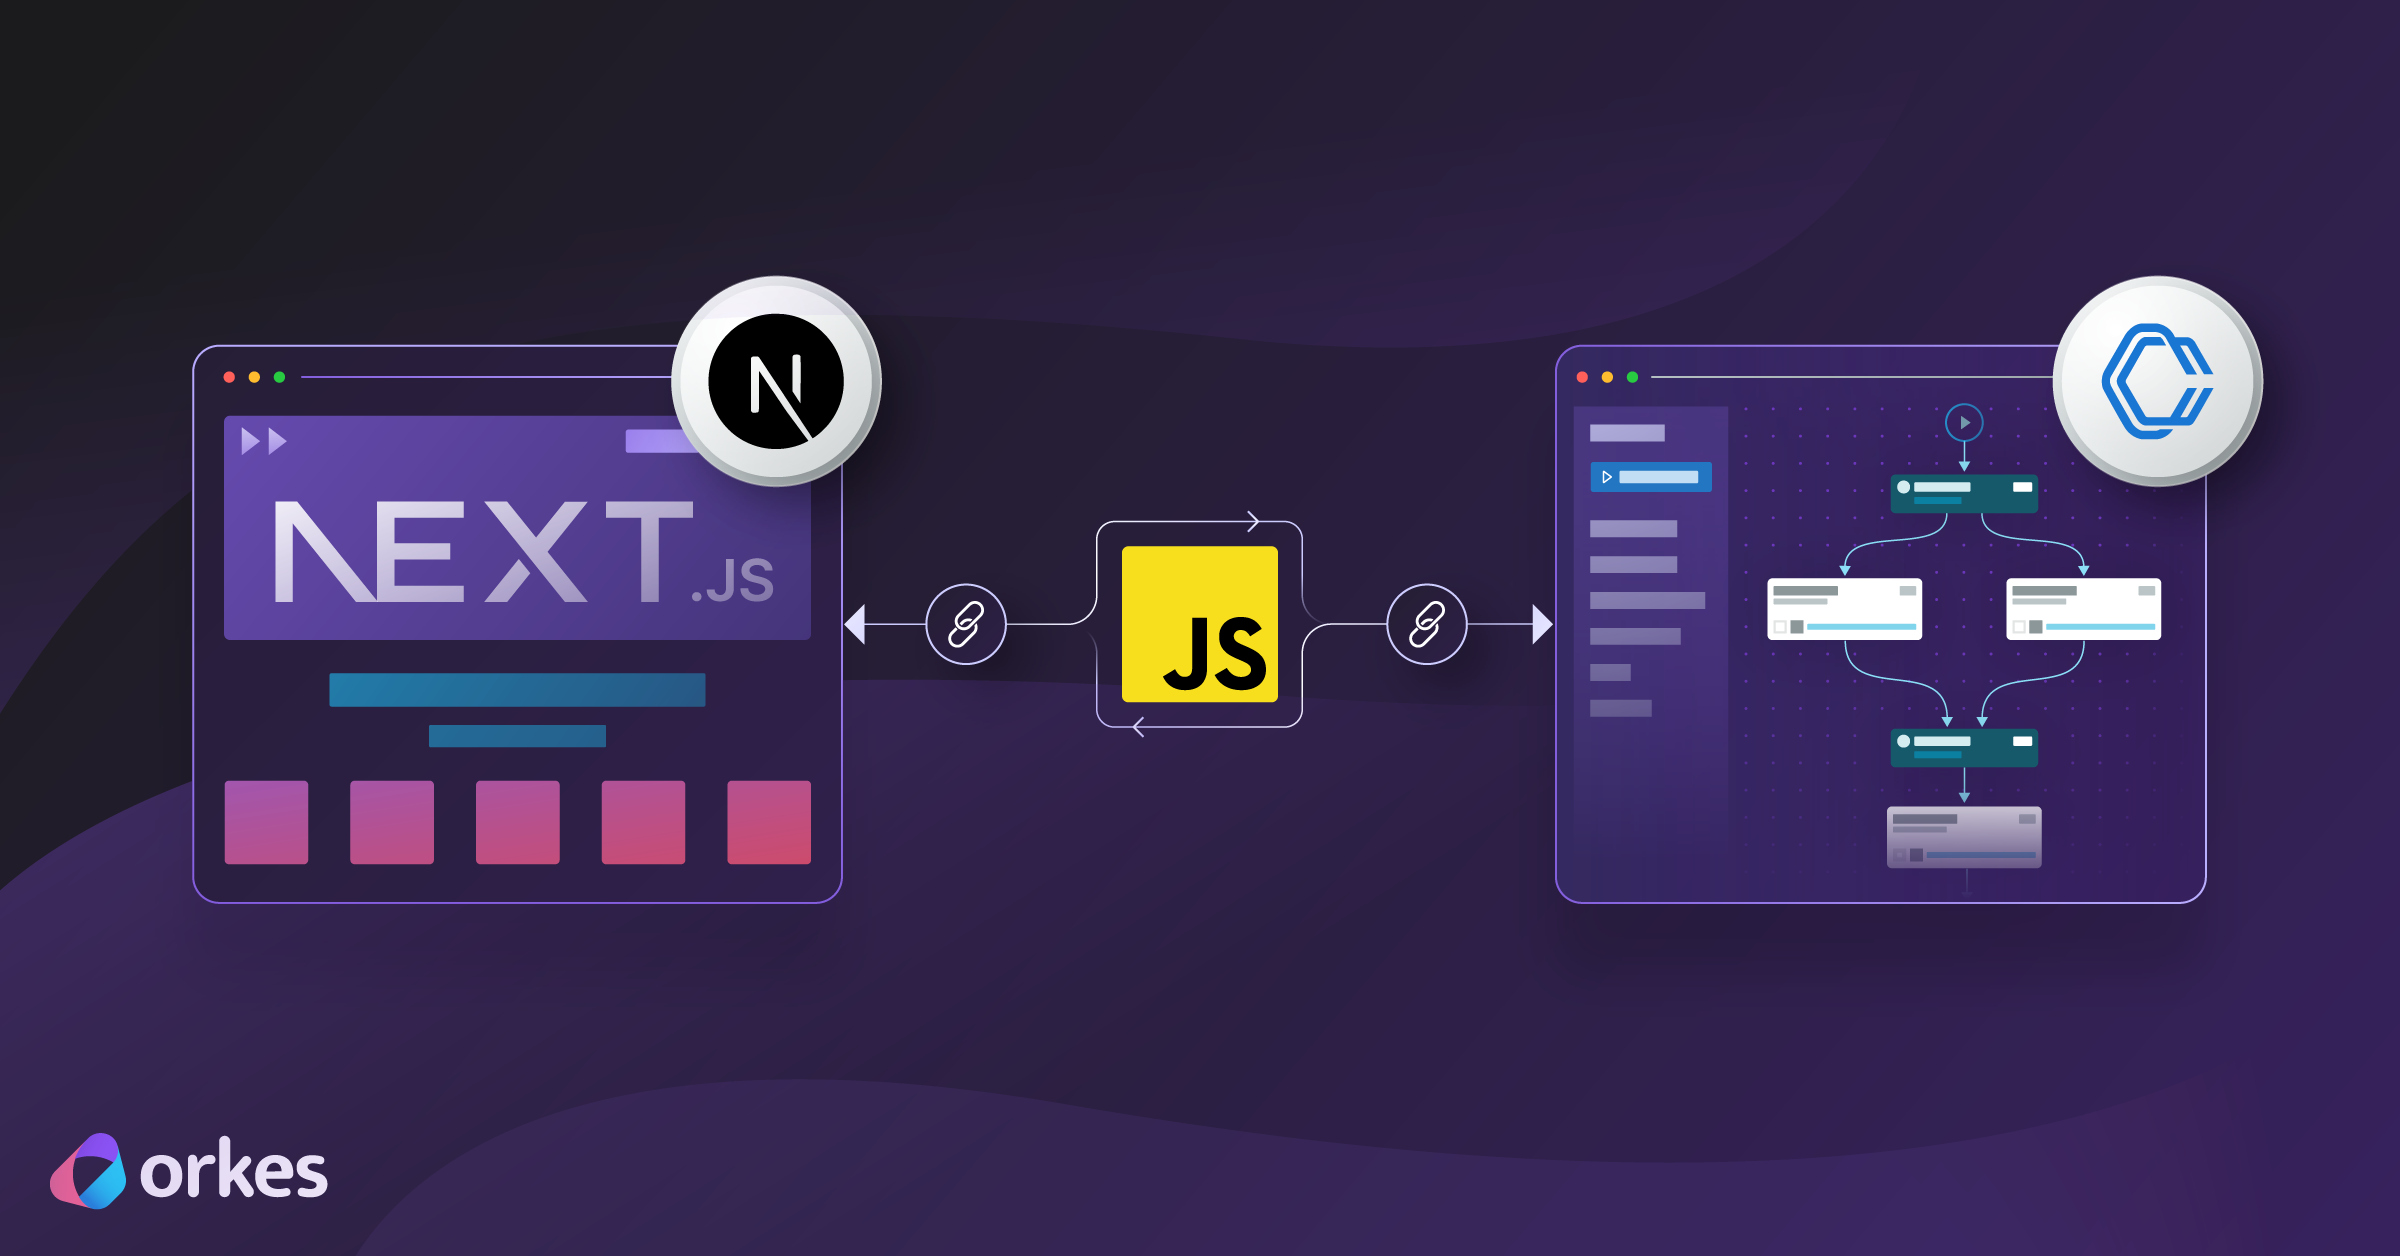
Connecting Next.js Applications to Orkes Conductor Using the JS SDK

Maria Shimkovska
Content Engineer
Last updated: September 10, 2025
September 10, 2025
5 min read


Join thousands of developers building the future with Orkes.
A quick and easy guide to connecting your NextJS app to your Orkes Conductor workflow. With code examples, as always. :-)
Orkes Conductor is a tool for automating and managing workflows, helping your apps and services work together seamlessly.
It provides several SDKs that make integration quick and painless.
In this guide, I’ll show you how to connect a Next.js application to a workflow you’ve built in Orkes Conductor. We’ll use the JavaScript SDK, which makes it easy to start workflows, pass input data, and manage executions directly from your Next.js app.
Before we dive in, let’s set some assumptions:
You only need two steps to get started:
.env file with your Orkes Conductor credentials.Feel free to copy and paste (with personal values changed of course) these and go from there. Once you start your workflow, you will feel the dopamine hit from getting started.
.env FileFirst, add your Orkes credentials and server URL to your environment variables.
CONDUCTOR_URL=https://developer.orkescloud.com/api   # For the Developer Edition
ORKES_KEY_ID=<ORKES_KEY_ID from Access Control > Applications>
ORKES_KEY_SECRET=<ORKES_KEY_SECRET from Access Control > Applications>
This makes sure your credentials are safe and not hardcoded in your source code.
Next, create a route handler in your Next.js app (e.g., inside app/api/start-workflow/route.ts). This handler will accept requests from your frontend, use the Orkes SDK, and start workflows.
Here’s an example:
import { NextResponse } from "next/server";

// Dynamic import so any import-time errors are caught by the try/catch
const { orkesConductorClient } = await import("@io-orkes/conductor-javascript");

export const runtime = "nodejs";           // ensure Node runtime
export const dynamic = "force-dynamic";    // avoid any static optimization

export async function POST(req: Request) {
  try {
    const { name, version, input, correlationId } = await req.json();

    if (!name) {
      return NextResponse.json({ error: 'Missing workflow "name"' }, { status: 400 });
    }

    const keyId = process.env.ORKES_KEY_ID;
    const keySecret = process.env.ORKES_KEY_SECRET;

    if (!keyId || !keySecret) {
      // Don’t let the SDK crash on undefined creds
      return NextResponse.json(
        { error: "Missing ORKES_KEY_ID / ORKES_KEY_SECRET env vars" },
        { status: 500 }
      );
    }

    const client = await orkesConductorClient({
      serverUrl: `https://developer.orkescloud.com/api`,
      keyId,
      keySecret,
    });

    const workflowId = await client.workflowResource.startWorkflow({
      name,
      version,
      input: input ?? {},
      correlationId,
    });

    return NextResponse.json({ workflowId }, { status: 200 });
  } catch (e: any) {
    // This will run for BOTH SDK/runtime errors and your own throws
    console.error("workflow error:", e);
    return NextResponse.json({ error: e?.message ?? String(e) }, { status: 500 });
  }
}
With this, your frontend can simply call your /api/start-workflow endpoint, and your workflow will be triggered in Orkes Conductor.
For instance, inside your React component:
async function handleClick() {
  const res = await fetch("/api/start-workflow", {
    method: "POST",
    body: JSON.stringify({
      name: "my_workflow",
      version: 1,
      input: { userId: 42 },
    }),
  });

  const data = await res.json();
  console.log("Workflow started with ID:", data.workflowId);
}
Now you can hook this up to a button, event, or any other trigger in your app.
At this point, you have a working connection between your Next.js app and Orkes Conductor. From here you can:
Once your client is set up, you can orchestrate any workflow logic directly from your application with just a few lines of code.
Happy orchestrating!