- PRODUCT
- ENGINEERING
How to Connect Supabase to Orkes Conductor | Build the Integration Yourself
 Maria Shimkovska Content Engineer
 Behind the scenes of the Supabase automation template. How to connect your database to Orkes Conductor from scratch.
Why Build It Yourself
Our Supabase + Orkes Template lets you connect Supabase in seconds but if you want to understand how it works, or customize it for yourself, this guide shows exactly how to build that connection manually in Orkes Conductor.
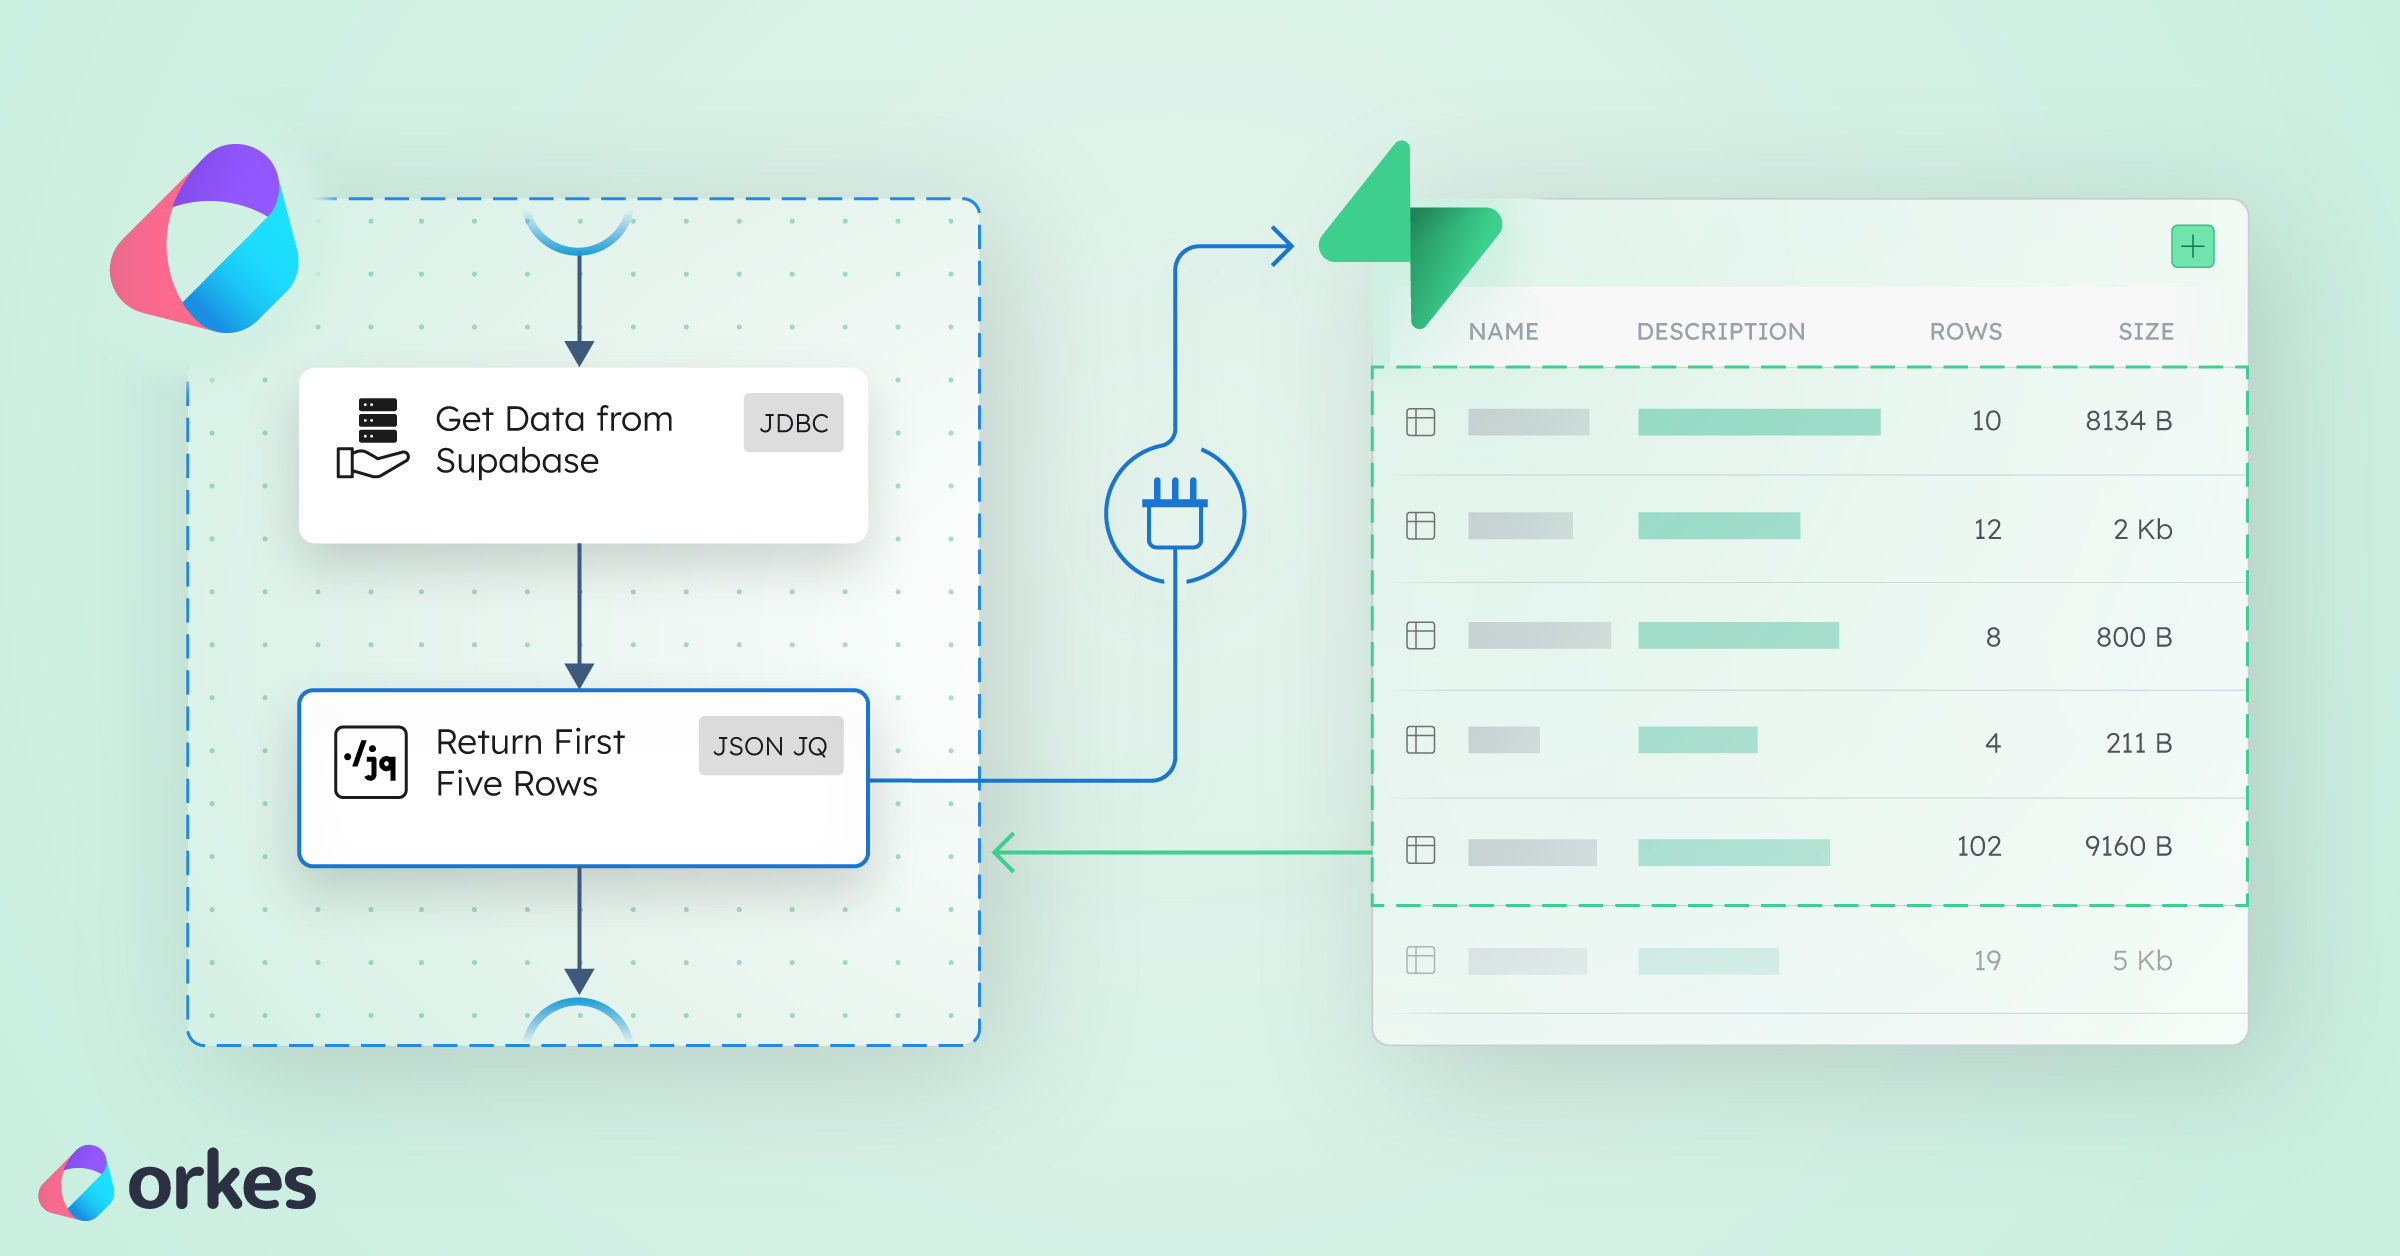
By the end, you will have a workflow that reads your Supabase data and processes it in Orkes Conductor using nothing but:
- A database URL
- One SQL query
- Two system tasks
Step 0: Make Sure You Have a Supabase Database Ready
Before connecting Orkes to Supabase, you need a database with at least one table.
If you don’t have one:
- Go to supabase.com → Create a project
- Open the SQL editor
- Create a simple table, for example:
CREATE TABLE public.my_table ( id SERIAL PRIMARY KEY, note TEXT, created_at TIMESTAMP DEFAULT NOW());Once this exists, you can connect Orkes directly to it.
Step 1: Get Your Supabase Connection Details
Inside your Supabase project:
- On the top of the screen you’ll see Connect button. Click that.
- Copy your Direct Postgres connection string (This is important; we are not using the transaction pooler)
It will look like this:
postgresql://postgres:<password>@<project>.supabase.co:5432/postgresTo use it in Orkes, convert it into a JDBC format:
jdbc:postgresql://<project>.supabase.co:5432/postgresKeep your Host, Port (5432), Username (postgres), Password, Database name (postgres by default) handy. You’ll paste these into Orkes next.
Step 2: Create a JDBC Integration in Orkes
This is what lets Conductor talk to Supabase.
- Log into your Orkes Developer Edition
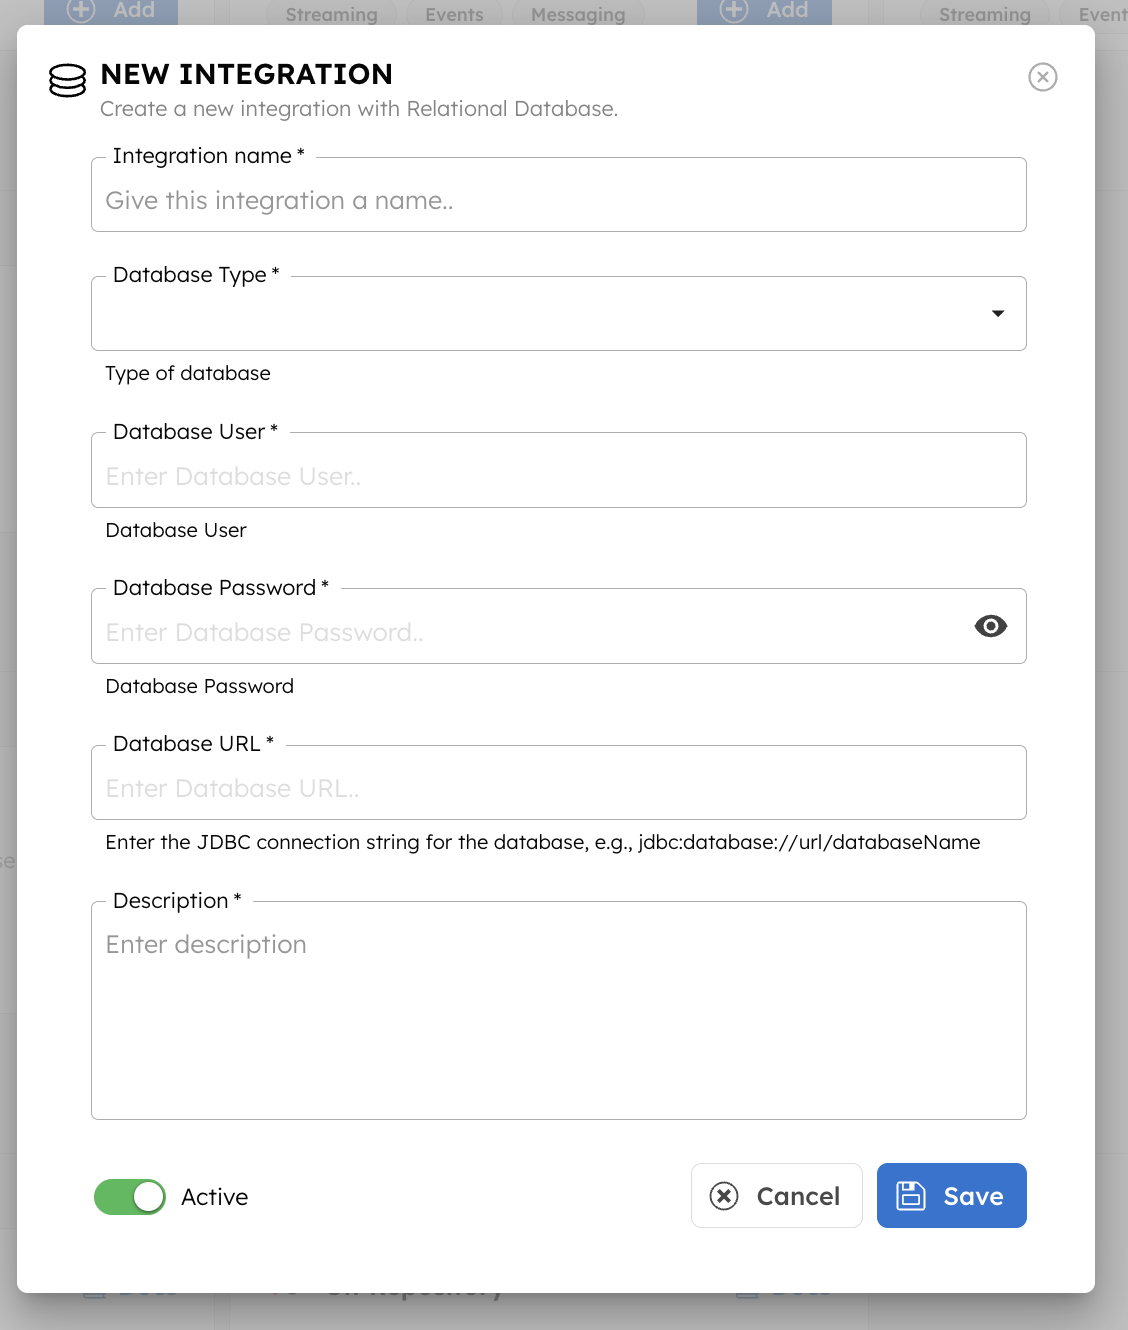
- Go to Integrations → New Integration → Relational Database
- Name it something meaningful, like
supabase_connection - Choose database type:
Postgres - Paste your JDBC connection string (example:
jdbc:postgresql://<project>.supabase.com:5432/postgres) - Enter your Supabase database username and password (and a description of the integration)
- Click Save
That’s it. Orkes can now talk to your Supabase database. Sweet! 🥳
Step 3: Create a Workflow That Runs Your First SQL Query
Now let’s make sure everything works by creating your JDBC workflow.
- Go to Workflows → Create Workflow
- Name it something like
SupabaseConnectorManual - Add a JDBC task
- Set the integration to the one you created (
supabase_connection) - In SQL, query your table. For example:
SELECT * FROM public.my_table;- Set the type to SELECT
This task will fetch rows directly from Supabase.
Next, add a second task to inspect the data.
Add a JSON → JQ Transform Task
- Add a new task JSON_JQ_TRANSFORM
- Name it
processData - Paste this JQ expression:
{ "queryExpression": "{first_rows: .getAllData_ref.output.result[:5]}"}This pulls the first 5 rows from your Supabase table so you can preview the results easily.
Your final workflow definition should look like this:
{{ "name": "SupabaseConnectorManual", "description": "Fetches and processes Supabase data through Orkes Conductor", "version": 1, "tasks": [ { "name": "getAllData", "taskReferenceName": "getAllData_ref", "type": "JDBC", "inputParameters": { "integrationName": "supabase_connection", "statement": "SELECT * FROM public.my_table", "type": "SELECT" } }, { "name": "processData", "taskReferenceName": "processData_ref", "type": "JSON_JQ_TRANSFORM", "inputParameters": { "queryExpression": "{first_rows: .getAllData_ref.output.result[:5]}" } } ], "schemaVersion": 2}That’s the entire pipeline; a clean example of “query → transform” using Orkes.
Step 5: Extend and Automate
Once your connection works, you can:
- Use AI tasks to summarize your data or do any cool AI thing with it.
- Use HTTP tasks to send data to Slack if you want to build a slack bot using your own data.
- Use SendGrid tasks to email daily reports.
- use more JDBC tasks to write results back into Supabase.
This is how your workflow evolves from “just run SQL” into full-blown automation.
Why I’m Using the Direct Postgres Connection (5432) Instead of the Transaction Pooler (6543)
For this Orkes Conductor setup, I’m intentionally using the direct Postgres connection (5432) because Conductor often runs many tasks at once, and each JDBC task opens its own database connection.
Supabase’s transaction pooler (6543) only allows a small number of clients — usually 10–20 — so it quickly throws FATAL: Max client connections reached when multiple tasks run in parallel. (This might be different for the paid versions. But I wanted to make this free.)
The direct connection gives Postgres far more room, making it stable and reliable for workflow systems.
Wrapping Up: From Database Connection to Automation
At this point you can:
- Connect Supabase to Orkes reliably
- Run SQL from inside a workflow
- Inspect, transform, or enrich results
- Trigger downstream automations
And when you want to skip the setup, the Supabase Automation Template is waiting for you, but now you know exactly how it works under the hood.