WordPress Integration with Orkes Conductor
- v5.3.0 and later
Integrating WordPress with Orkes Conductor lets you build workflows that interact with your WordPress using the following operations:
- Get Me
- Create Post
- Update Post
- Delete Post
- Get Post
- List Posts
- List Tags
- List Categories
- Upload Media
- Get Media
- List Media
This guide explains how to set up and use the integration. Here’s an overview:
- Get the required credentials from WordPress.
- Configure a new WordPress integration in Orkes Conductor.
- Use WordPress integration in workflows.
Step 1: Get the WordPress credentials
To integrate WordPress with Orkes Conductor, create a WordPress application and retrieve the Client ID and Client Secret.
To retrieve the credentials:
- Go to the Wordpress Developer portal.
- Select Create New Application.
- Enter the following mandatory parameters:
- Name: A name for the application.
- Description: A description for the application.
- Website URL: The URL to an informational home page of your application.
- Redirect URLs: The URLs that will be redirected to during the authorization process. Enter your OAuth callback URL in the format
http://<YOUR-CONDUCTOR-CLUSTER-NAME>/oauth-callback.html.
- Select Create.
Note the generated Client ID and Client Secret.
Step 2: Add an integration for WordPress
After obtaining the credentials, add a WordPress integration to your Conductor cluster.
To create an integration:
- Go to Integrations > Connected Apps from the left navigation menu on your Conductor cluster.
- Select + New integration.
- In the CMS section, choose WordPress.
- Select + Add and enter the following parameters:
| Parameter | Description | Required/Optional |
|---|---|---|
| Integration name | A name for the integration. | Required. |
| Site URL | The WordPress site URL (for example, example.wordpress.com or https://example.wordpress.com). Can also be a numeric site ID. | Required. |
| Client ID | The Client ID of your WordPress application generated from Step 1. | Required. |
| Client Secret | The Client Secret of your WordPress application generated from Step 1. | Required. |
| Scope | The OAuth2 permissions for the integration, entered as space-separated values. Supported values:
| |
| Description | A description of the integration. | Required. |

- (Optional) Toggle the Active button off if you don’t want to activate the integration instantly.
- Select Authorize.
- Select the WordPress site to add the integration to, and make sure you're signed in with the correct account.
- Select Approve.
This authorizes the connection and the integration is created successfully.
Step 3: Use WordPress integration in workflows
Once the integration is ready, this can be used directly within the workflows.
To use WordPress integration in a workflow:
- Go to Definitions > Workflow from the left navigation menu on your Conductor cluster.
- Select + Define workflow.
- In your workflow, select the (+) icon and select Connected Apps.
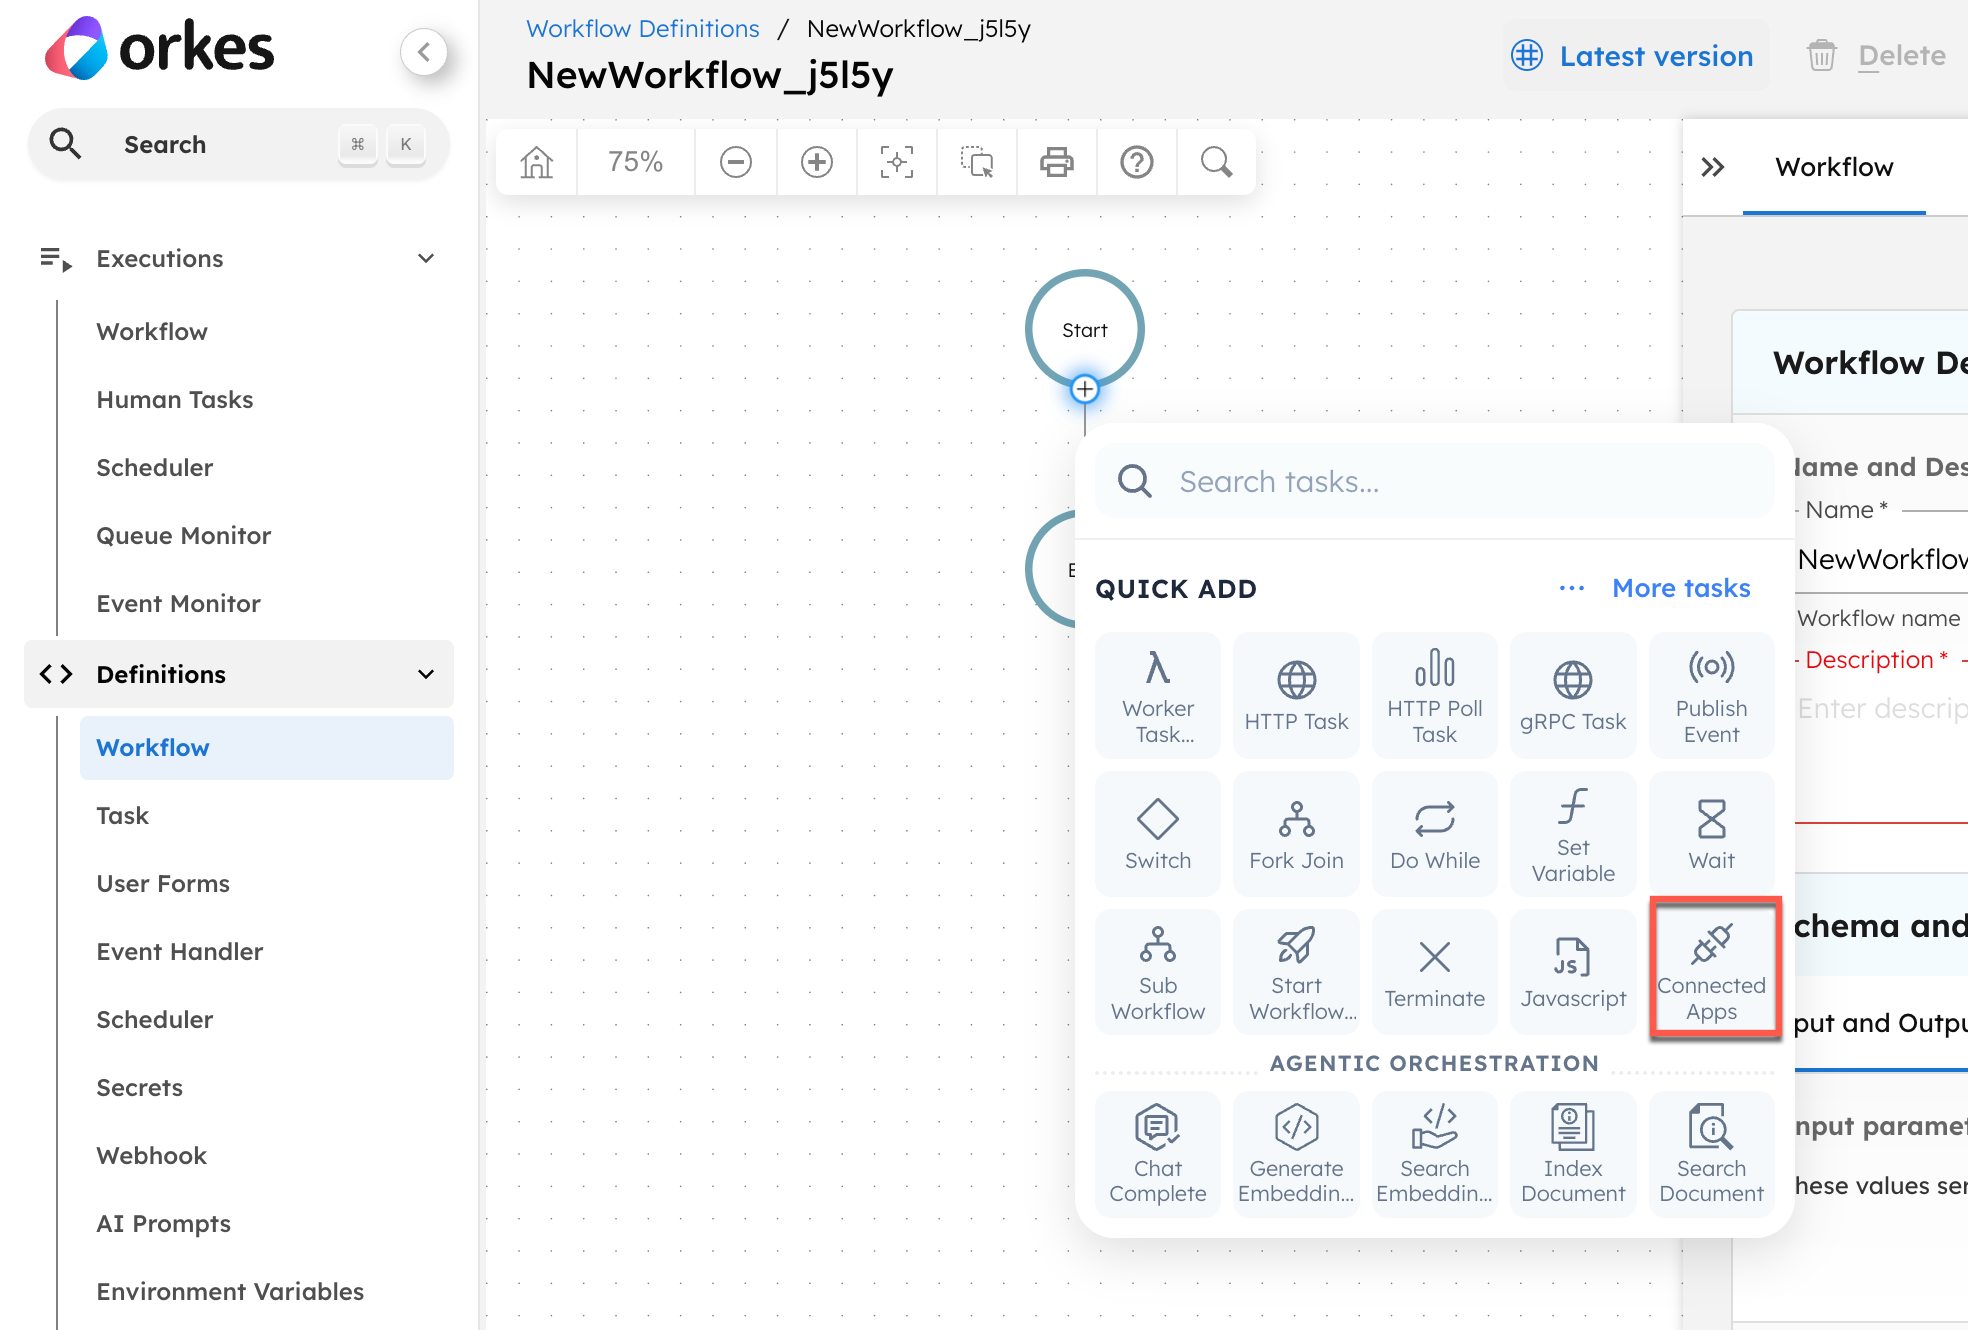
- In Add Task panel on the right, search for WordPress, and select the integration created in Step 2.
The following operations are available for use with this integration.
| Operation | Description | Supported Integration Scopes |
|---|---|---|
| Get Me | Get the current authenticated user profile. | auth |
| Create Post | Create a new post or page. | posts |
| Update Post | Update an existing post or page. | posts |
| Delete Post | Delete a post or page by ID. | posts |
| Get Post | Get a specific post or page by ID. | posts |
| List Posts | List posts or pages with optional filters. | posts |
| List Tags | List tags in WordPress site. | taxonomy |
| List Categories | List all categories from WordPress site.. | taxonomy |
| Upload Media | Upload a media file to WordPress from a URL. | media |
| Get Media | Get a specific media item by ID. | media |
| List Media | List all media items. | media |
- Select the required operation, configure the parameters, and select Save > Confirm.
- Select Execute to run the workflow.
For the complete operations parameters and output reference, see WordPress Operations Reference.