Enabling CDC (Change Data Capture)
In Orkes Conductor, Change Data Capture (CDC) allows you to send workflow state changes to external message brokers such as Kafka. This enables downstream systems to react to workflow state changes in real time, making it easier to build responsive and decoupled architectures.
Configuring CDC parameters
Before configuring CDC, make sure the required message broker is integrated with the Conductor cluster.
You can configure CDC using the workflow JSON definition or Conductor UI.
- Using workflow JSON
- Using Conductor UI
To enable CDC:
- Go to Definitions > Workflow from the left navigation menu on your Conductor cluster.
- Create a new workflow or select an existing one.
- Add the following parameters to the workflow definition code:
| Parameter | Description |
|---|---|
| workflowStatusListenerEnabled | Set to true to enable CDC. |
| workflowStatusListenerSink | The event sink in the format: message-broker-type:integration-name:topic/queue-name where,
|
Example
// workflow definition

"workflowStatusListenerEnabled": true,
"workflowStatusListenerSink": "message-broker-type:integration-name:topic/queue-name" // event sink
- Save the workflow.
To enable CDC:
- Go to Definitions > Workflow from the left navigation menu on your Conductor cluster.
- Create a new workflow or select an existing one.
- In Workflow tab, go to Execution Parameters, and toggle on Enable workflow status listener.
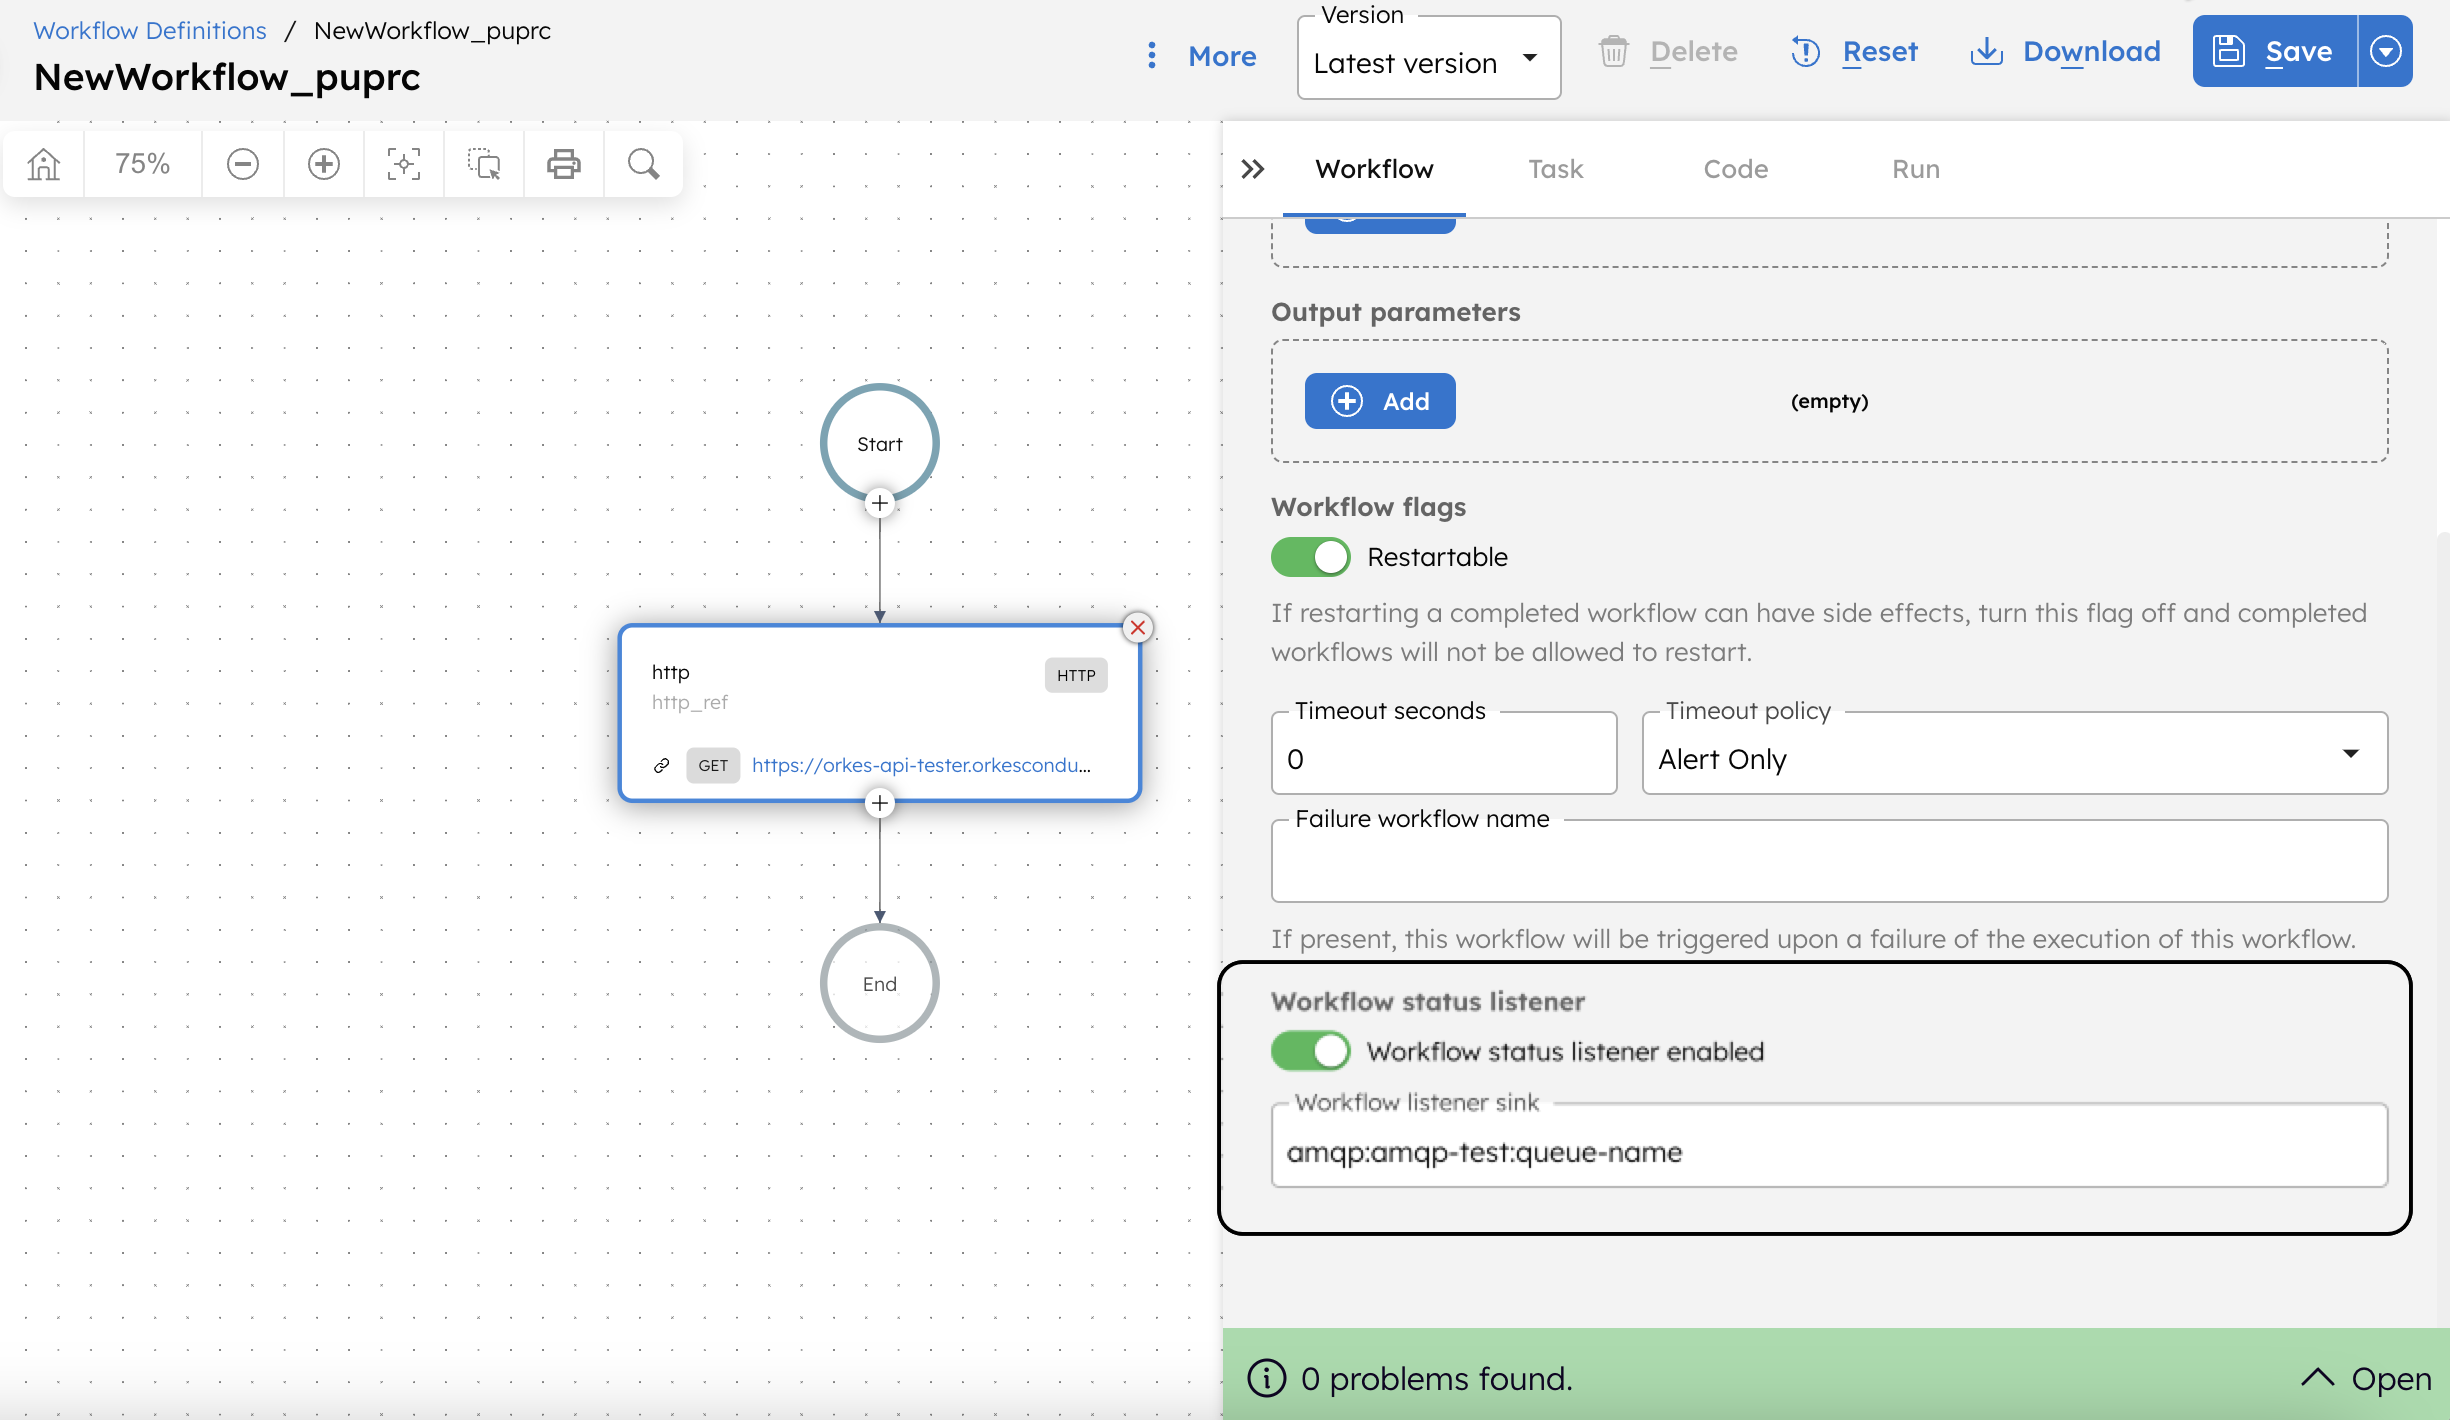
- In Workflow listener sink, select the required integration already added to the cluster.
- Enter the topic or queue name manually into the sink.
For example, if you have added an AMQP integration named amqp-test, it appears in the drop-down list of available integrations as follows:
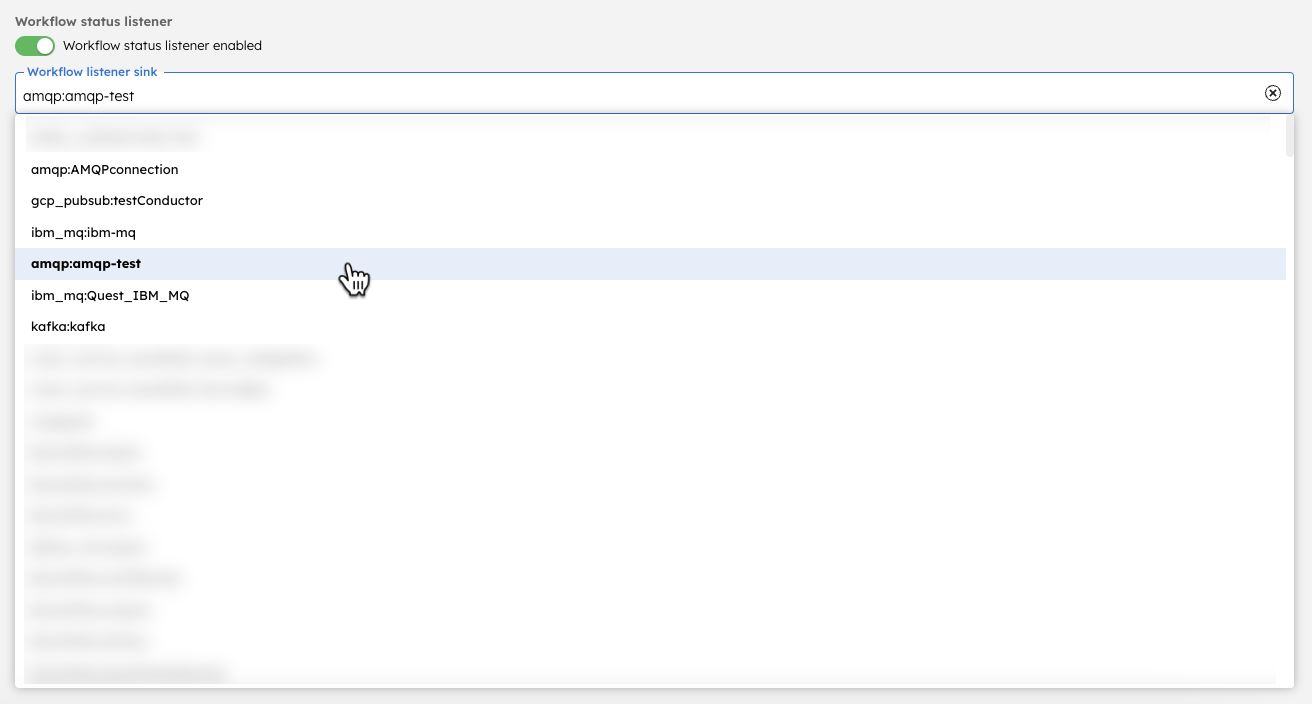
Select the integration and enter the queue name to update the workflow listener sink as follows:
"workflowStatusListenerSink": "amqp:amqp-test:queue-name"
- Save the workflow.
Using CDC with Kafka and AVRO
- v4.1.74 and later
- v5.2.8 and later
When CDC is configured with a Kafka integration that uses the AVRO protocol, the schema name must be specified in the workflow's input.
Before referencing the schema name, save the following schema in your schema registry.
Conductor Event Schema
{
  "fields": [
    {
      "name": "_schema",
      "type": "string"
    },
    {
      "name": "workflowType",
      "type": "string"
    },
    {
      "name": "eventType",
      "type": "string"
    },
    {
      "name": "workflowInstanceId",
      "type": "string"
    },
    {
      "name": "sink",
      "type": "string"
    },
    {
      "default": "",
      "name": "taskId",
      "type": "string"
    },
    {
      "default": "",
      "name": "workflow",
      "type": "string"
    },
    {
      "default": "",
      "name": "task",
      "type": "string"
    }
  ],
  "name": "ConductorEvent",
  "type": "record"
}
Then, specify the saved schema name in _schema as workflow input.
Example
// workflow input

{
  "_schema": "your-schema-name"
}
Verifying CDC events
When the workflow starts, Conductor emits an event each time its state changes, for example, when it transitions from the RUNNING state to any other state. These events are delivered to the configured message brokers in real time. Verify the message delivery under the configured topic or queue name.