Using Environment Variables
In Orkes Conductor, environment variables help manage frequently used values across multiple workflows. These variables are stored at the cluster level and can be reused across workflows to improve maintainability.
Creating environment variables
To create an environment variable:
- Go to Definitions > Environment Variables from the left navigation menu on the Conductor cluster.
- Select + New environment variable.
- Enter the following details:
- Name: A unique identifier for the variable. This name will be used to reference the variable in workflow definitions.
- Value: The value to be stored as the variable.
- Value Type: Select Plain Text or JSON.
- Select Add to save the variable.
Using environment variables in workflow
To use an environment variable in a workflow, use the following expression:
${workflow.env.variable-name}
Replace variable-name with the actual environment variable name. This expression dynamically retrieves the variable during workflow execution.
If the environment variable is a JSON value and you want to use it as an object, append .$ to explicitly parse it as JSON:
${workflow.env.variable-name.$}
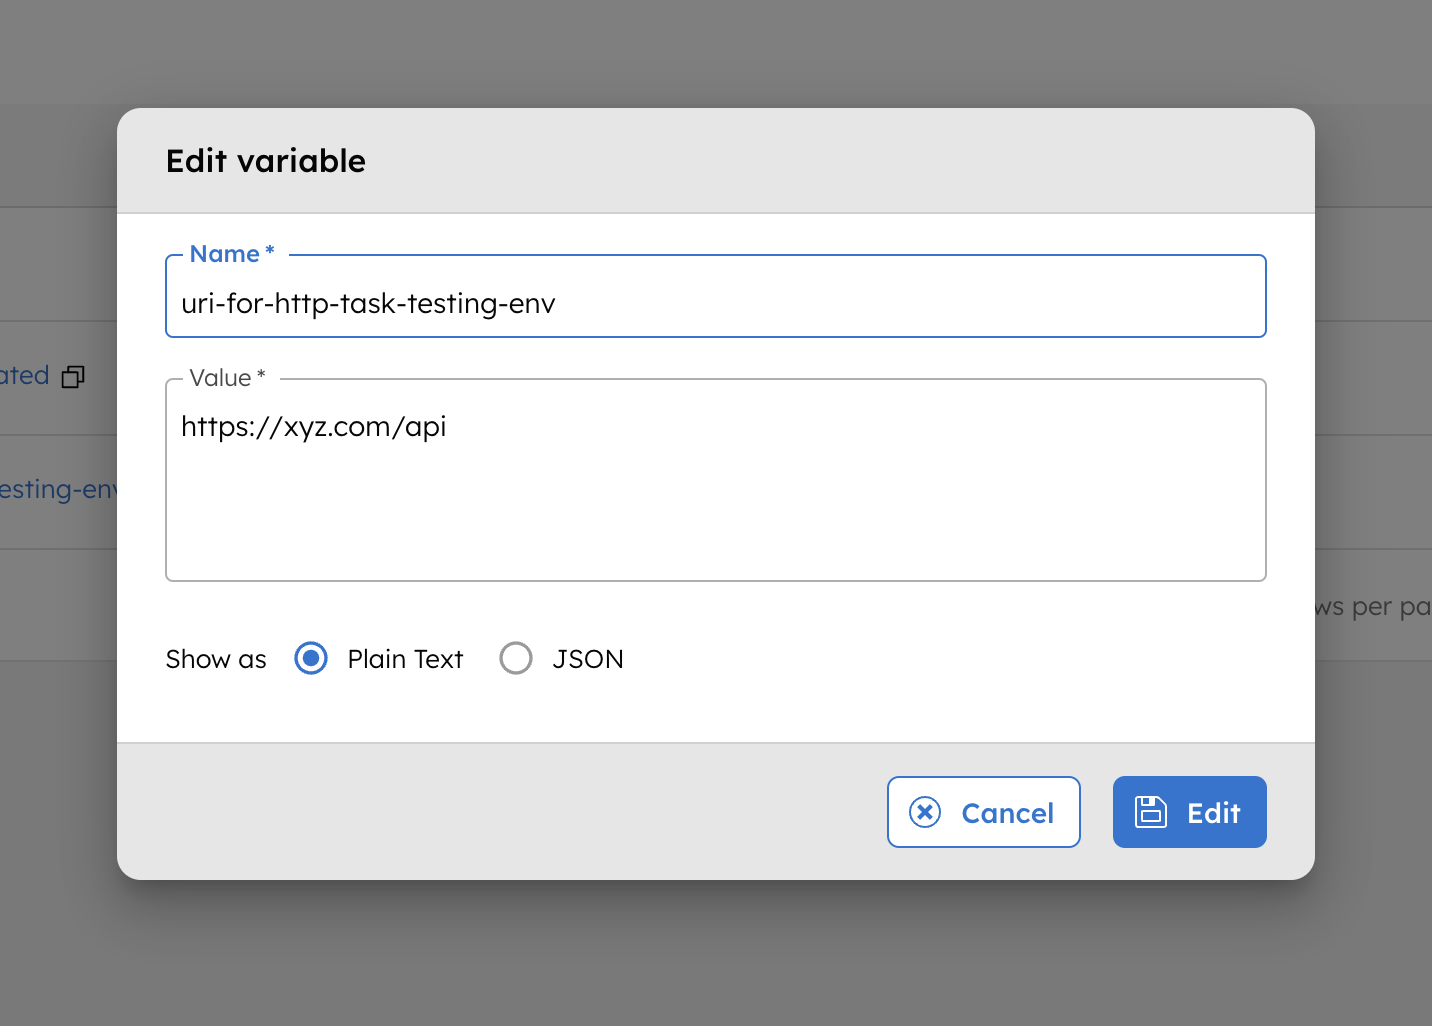
Updating environment variables
To update an environment variable:
- Go to Definitions > Environment Variables, and select the variable to update.
- In Value, enter the updated variable.
- Select Edit to confirm.
Example
Using environment variables in a workflow
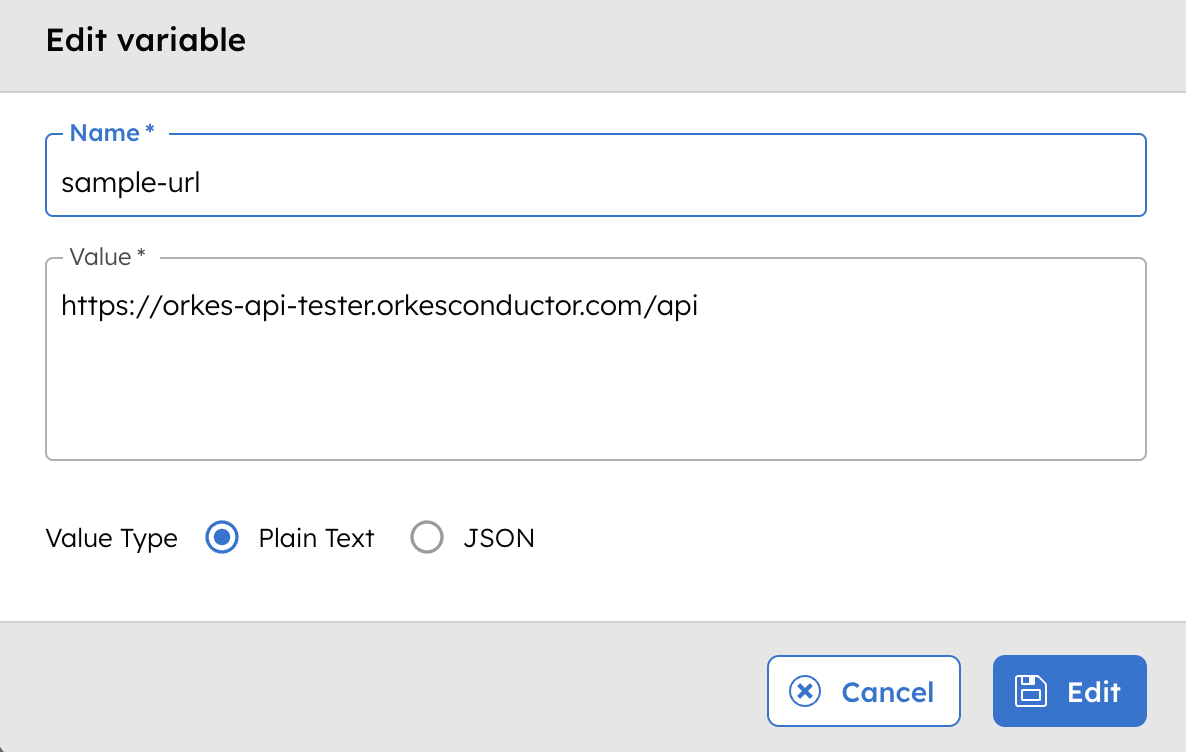
To illustrate the use of environment variables in a workflow, consider the following variable stored in Orkes Conductor.
The following example defines a workflow that references the stored environment variable:
{
  "name": "sample-workflow",
  "description": "Workflow to demonstrate passing variables through environment variables",
  "version": 1,
  "tasks": [
    {
      "name": "http",
      "taskReferenceName": "http_ref",
      "inputParameters": {
        "uri": "${workflow.env.sample-url}",
        "method": "GET",
        "connectionTimeOut": 3000,
        "readTimeOut": "3000",
        "accept": "application/json",
        "contentType": "application/json",
        "encode": true
      },
      "type": "HTTP"
    }
  ],
  "schemaVersion": 2,
  "ownerEmail": "name@example.com"
}
When this workflow runs, the expression ${workflow.env.sample-url} is dynamically replaced with the actual variable value, provided that the user running the workflow has permission to access the variable.
To verify that the stored variable is passed correctly, go to the workflow execution page, select the HTTP task, and check the Input.

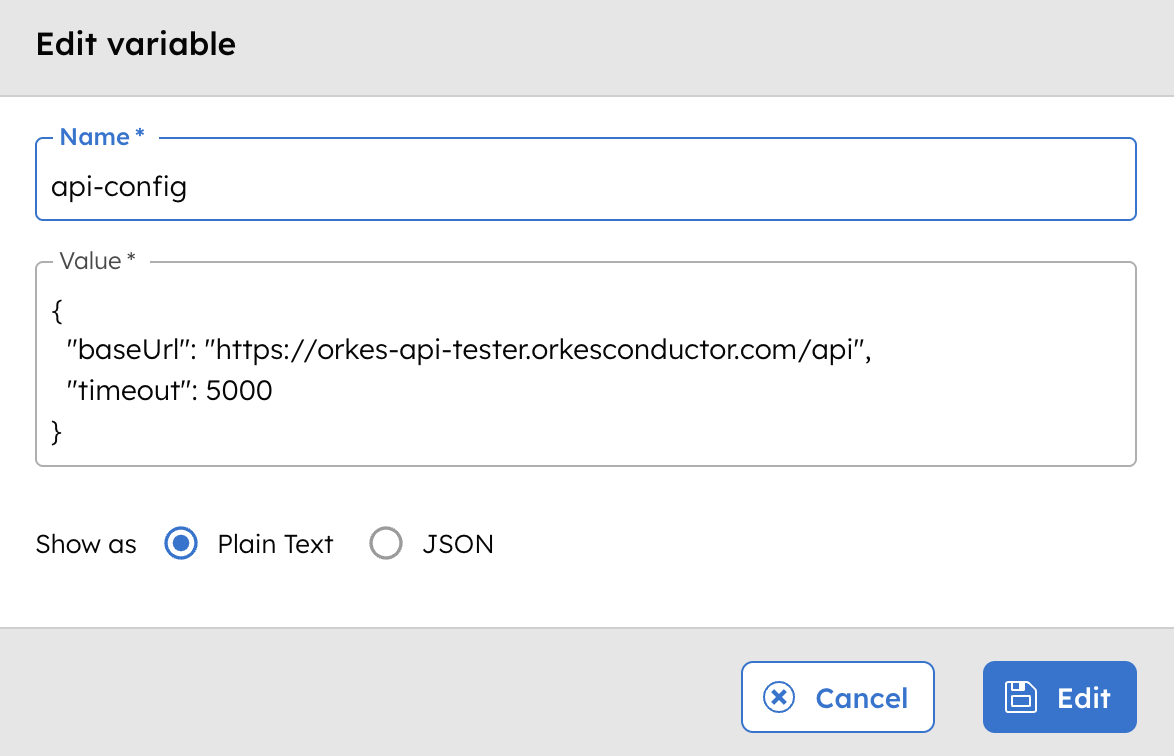
Using JSON environment variables in a workflow
This example shows how to use a JSON environment variable in a workflow. Assume the following environment variable is stored in Orkes Conductor:
The following workflow references the stored JSON environment variable and explicitly parses it.
{
  "name": "json-env-example",
  "description": "Workflow demonstrating use of a JSON environment variable",
  "version": 1,
  "tasks": [
    {
      "name": "http",
      "taskReferenceName": "http_ref",
      "inputParameters": {
        "uri": "${workflow.env.api-config.$.baseUrl}",
        "method": "GET",
        "connectionTimeOut": "${workflow.env.api-config.$.timeout}",
        "readTimeOut": "${workflow.env.api-config.$.timeout}",
        "accept": "application/json",
        "contentType": "application/json",
        "encode": true
      },
      "type": "HTTP"
    }
  ],
  "schemaVersion": 2
}
In this example:
${workflow.env.api-config.$}parses the environment variable as a JSON object.- Individual fields are accessed using standard JSON path notation.
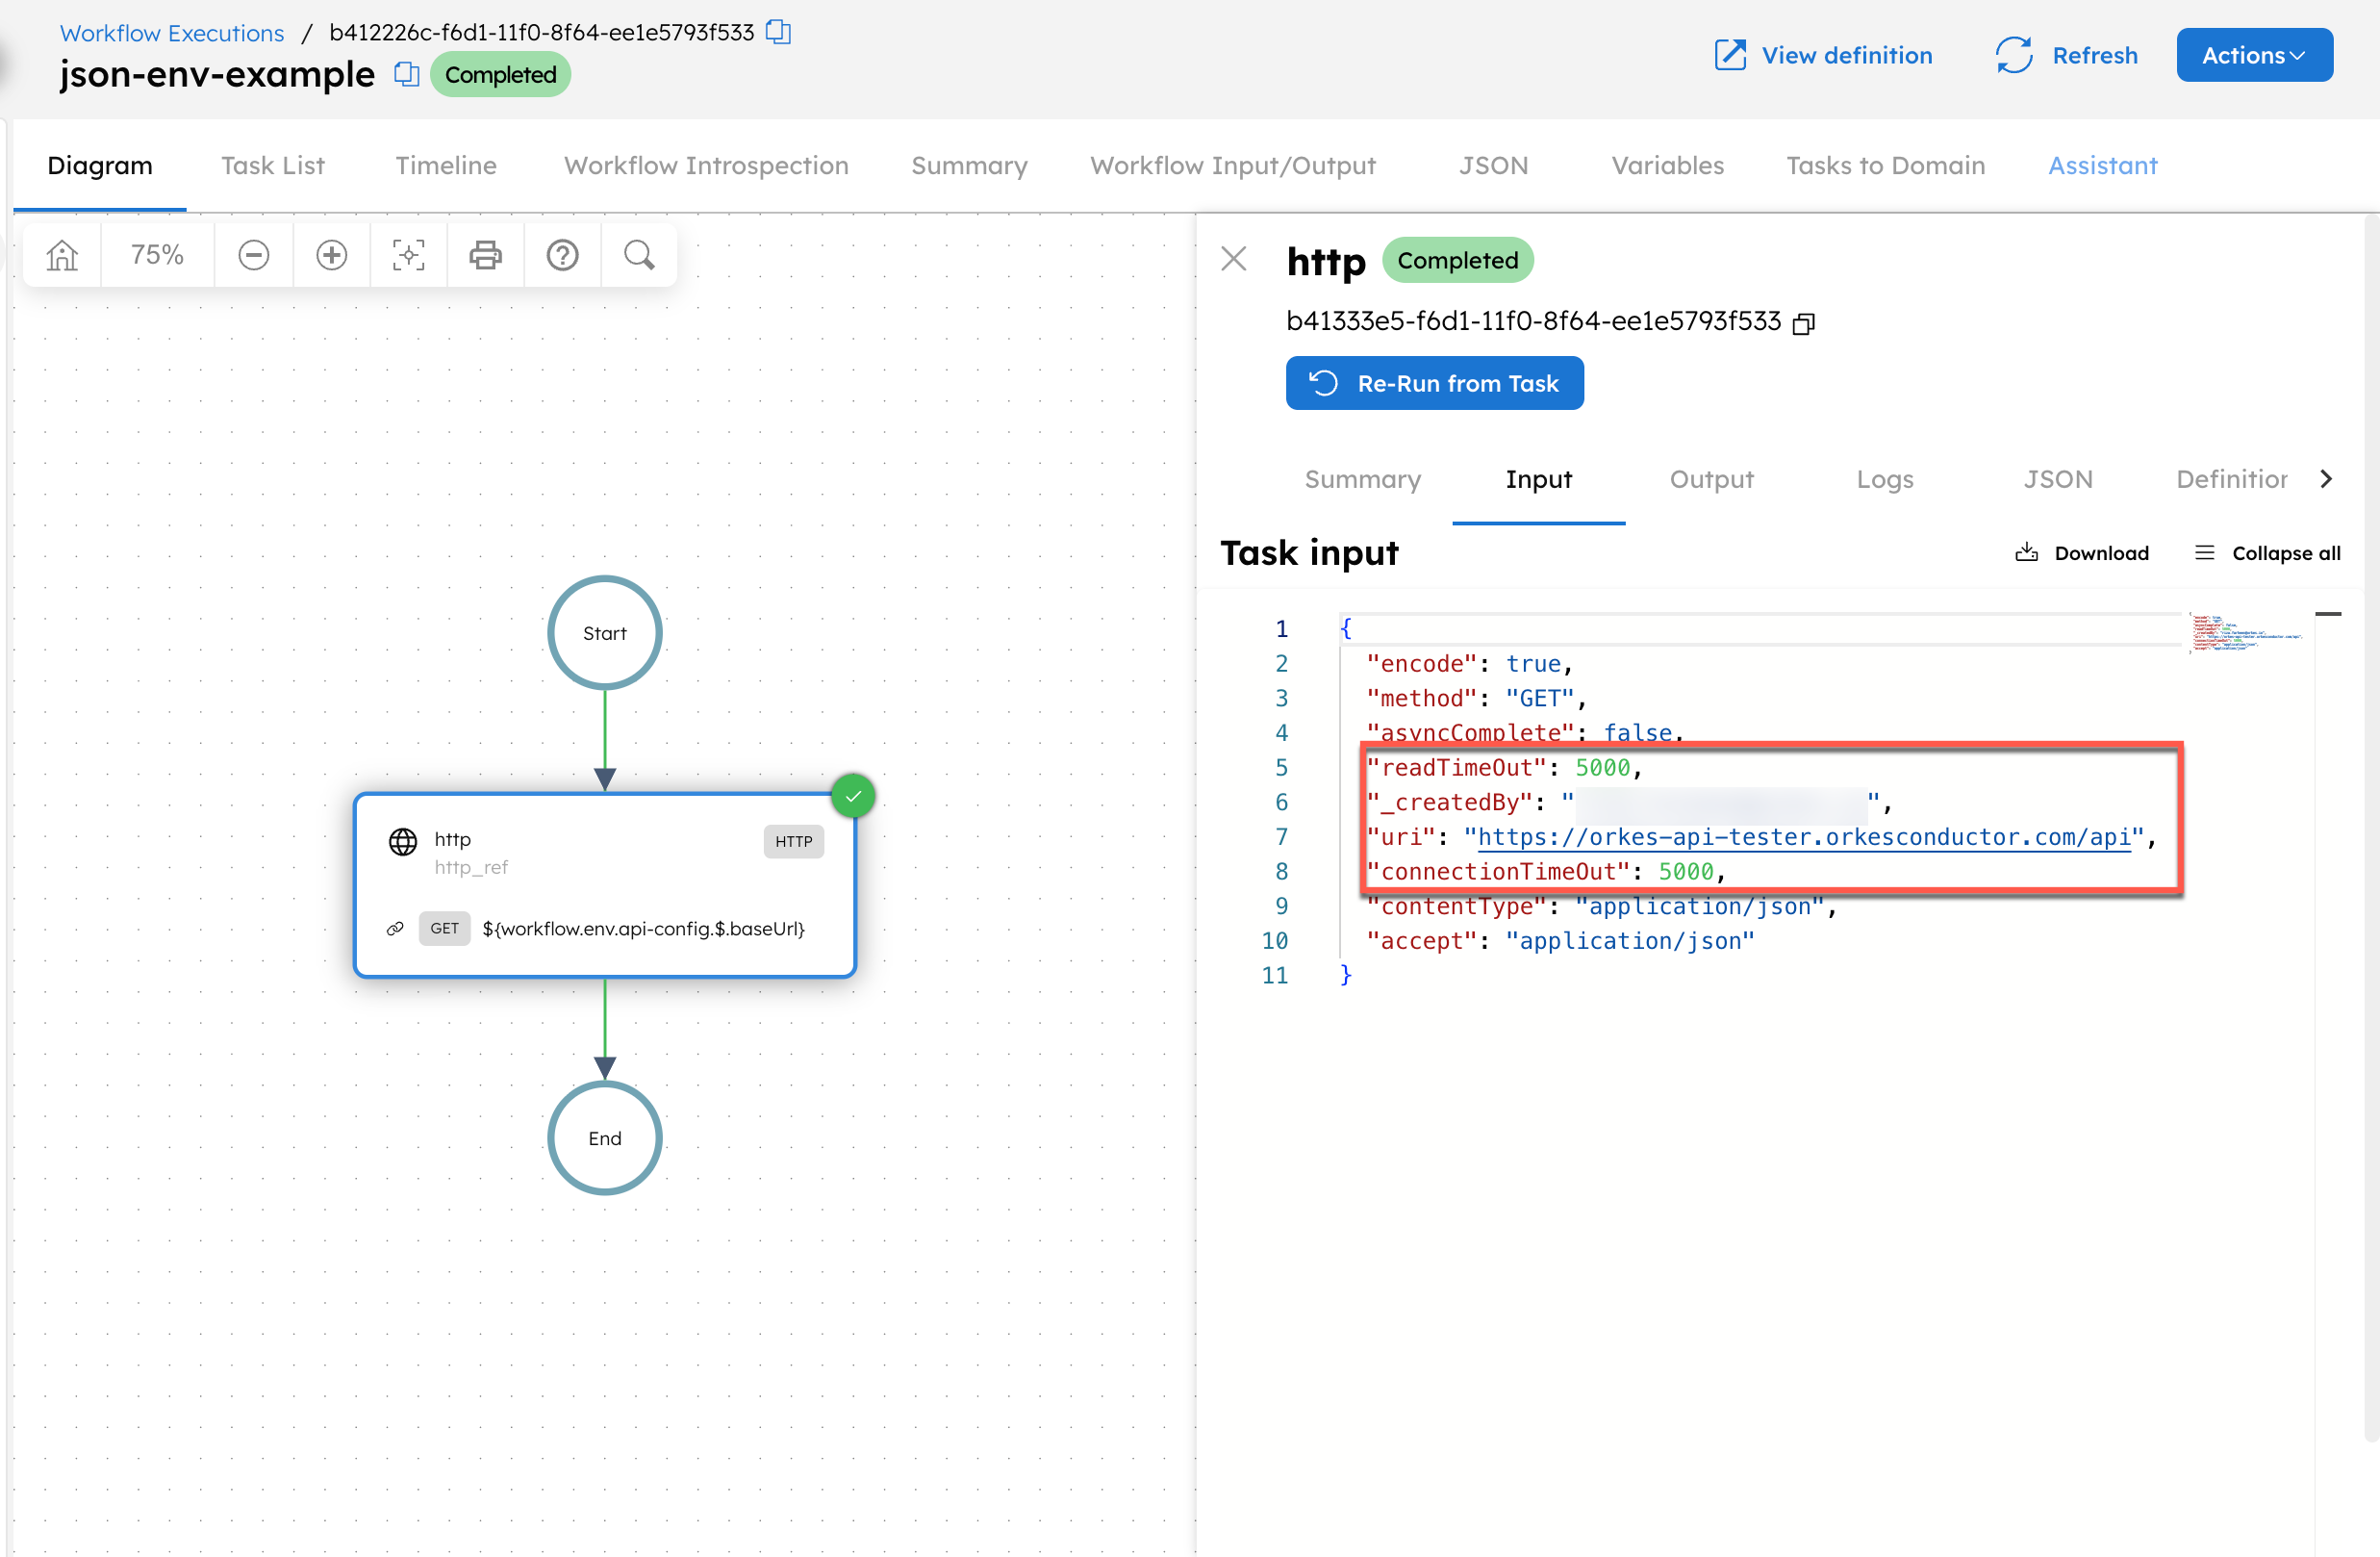
Run the workflow.
To verify that the stored variable is passed correctly, open the workflow execution, select the HTTP task, and confirm that the resolved values appear in the Input tab.