Using Secrets
Secrets in Conductor allows you to store and use sensitive data, such as usernames, passwords, API keys, and authorization tokens, without exposing it directly in workflow definitions. After storing them as secrets in Conductor, you can reference them by their secret names in the workflows.
Configuring secrets
To create a secret:
- Go to Definitions > Secrets from the left navigation menu on your Conductor cluster.
- Select + Add secret.
- Enter the following details:
| Parameter | Description | Required/ Optional |
|---|---|---|
| Secret name | A unique name for the secret. This will be used to refer to the secret in the workflow definitions. | Required. |
| Secret value | The value to be stored as secret. | Required. |
- Select Add to save the secret.
Using secrets in workflow
To use a secret in a workflow, use the following expression:
${workflow.secrets.secret_name}
Here, secret_name is the name of the secret saved in Conductor. This expression dynamically retrieves the secret value during workflow execution, ensuring it is not exposed directly in the workflow definition.
Updating secrets
Secrets can be updated directly from the Conductor UI or using the Update Secret task in a workflow.
- Using Conductor UI
- Using Update Secret task
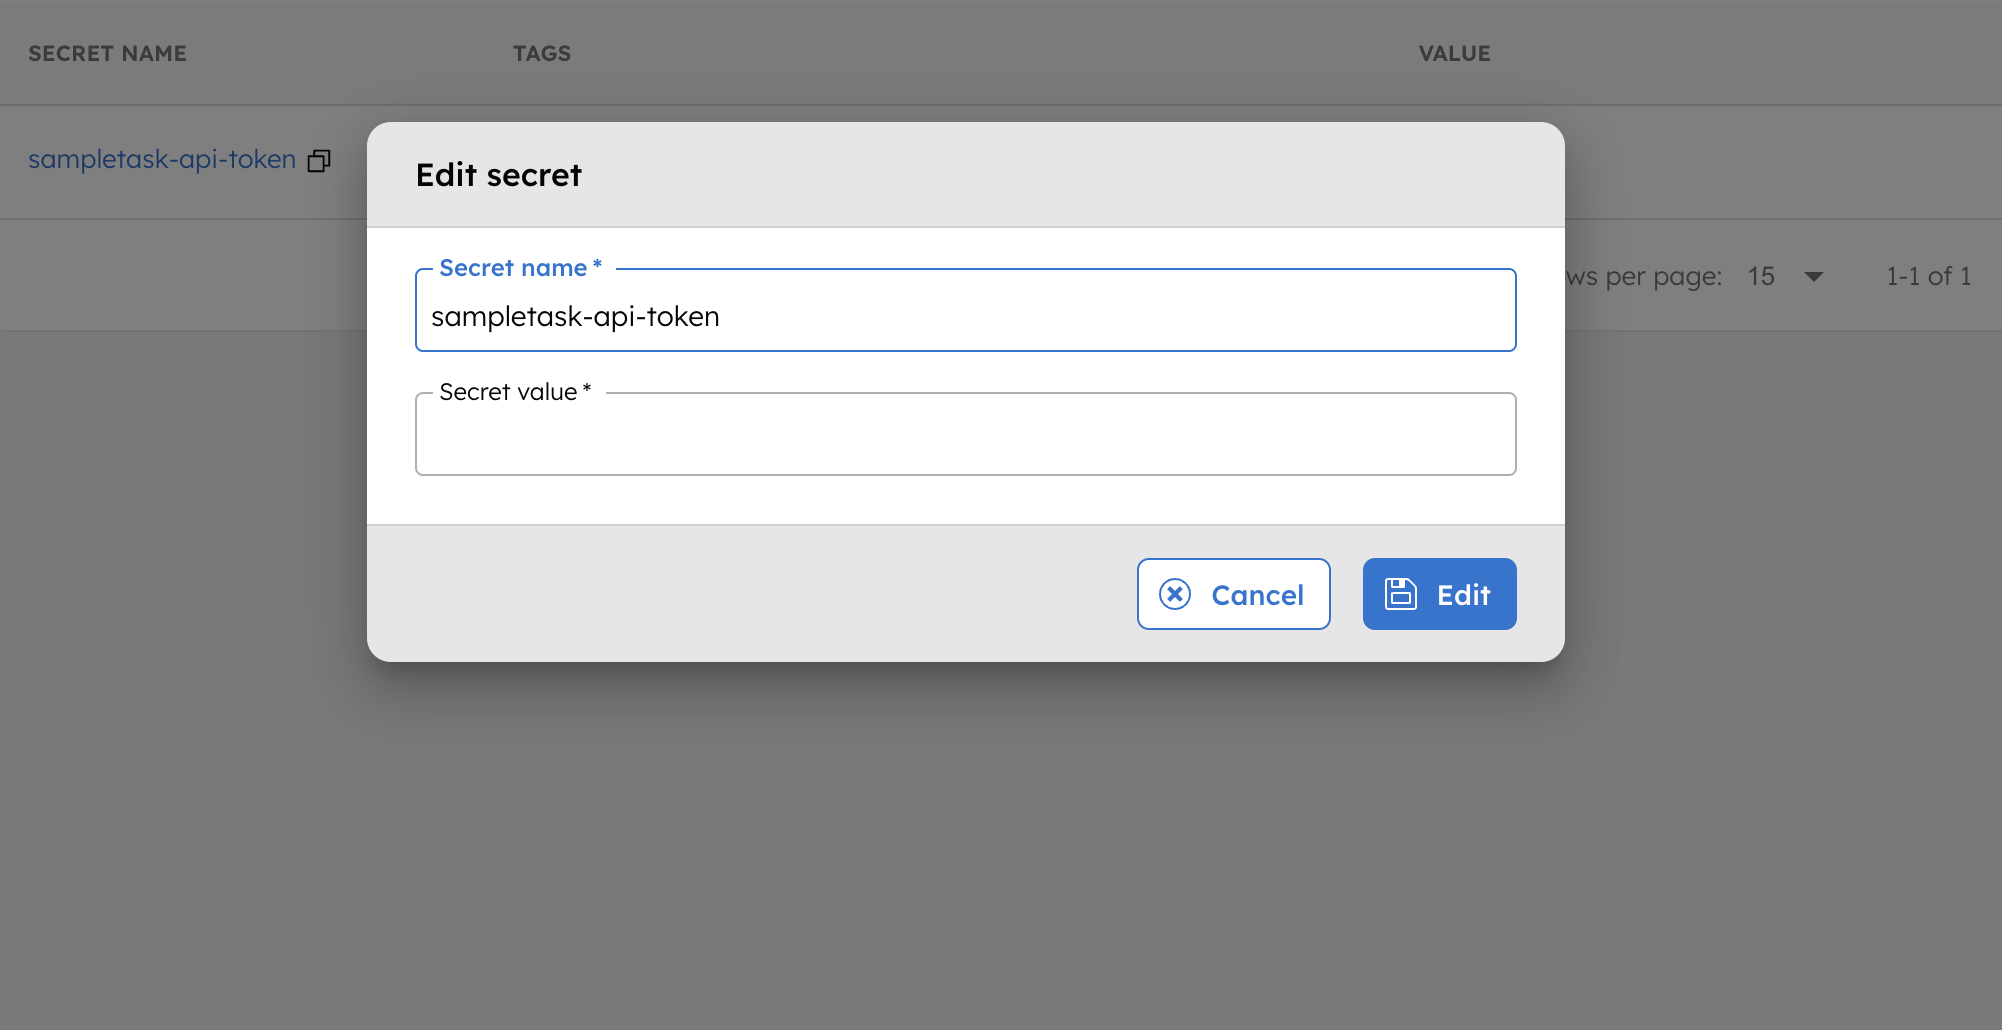
To update the secret:
- Go to Definitions > Secrets, and click on the secret you want to update.
- In Secret value, enter the updated value, then click Edit to confirm.
Updating secrets can be challenging for expiring tokens that need periodic updates. Use the Update Secret task in Conductor to replace such secrets within a workflow.
Examples
Using secrets in a workflow
Using secrets in a workflow
Suppose you have a secret saved with the name sampletask-api-token. Here is an example of how to use this secret in a workflow definition:
// workflow definition
{
  "name": "sample_task_http",
  "taskReferenceName": "sample_task_http",
  "inputParameters": {
    "http_request": {
      "uri": "https://orkes-api-tester.orkesconductor.com/api",
      "method": "GET",
      "connectionTimeOut": 3000,
      "readTimeOut": 3000,
      "accept": "application/json",
      "contentType": "application/json",
      "headers": {
        "Authorization": "Bearer: ${workflow.secrets.sampletask-api-token}"
      }
    }
  },
  "type": "HTTP"
}
When this workflow runs, the expression ${workflow.secrets.sampletask-api-token} will be dynamically replaced with the actual secret value, provided the user running the workflow has permission to access the secret.
Use cases
Storing environment-specific variables as secrets
Secrets in Conductor can store values that vary across different environments, such as development, testing, and production. This allows workflows to seamlessly adapt to the environment in which they are executed without requiring hardcoded changes. For example, you might have different API keys or database connection strings for testing and production environments. Instead of manually updating the workflow for each environment, you can store these values as secrets and reference them dynamically.
Example:
- For a testing environment, you can store a secret with the name testing-api-key, and reference it in the workflow as
${workflow.secrets.testing-api-key}. - For a production environment, store a secret named production-api-key, and reference it as
${workflow.secrets.production-api-key}. This approach ensures workflows can automatically adapt to the appropriate configuration based on the environment.
Token rotation
Regular rotation is essential for time-sensitive secrets, such as access tokens. Implementing effective token rotation strategies ensures that tokens remain valid and secure. For more detailed instructions, refer to the guide on rotating secrets.