HTTP Endpoint Monitoring
This template is available only in the Developer Edition on Launch Pad.
This endpoint monitoring template checks the health of a specified HTTP endpoint and sends an email alert if the endpoint is unreachable or returns a status code other than HTTP 200. Note that only HTTP 200 is treated as success; valid 2xx codes such as 201 and 204 also trigger the alert path.
This template serves as a quickstart for building monitoring workflows. You can use this as a foundation and extend it with features such as alternative notification channels, and more.
Conductor features used
This template utilizes the following Conductor features:
How to use the template
- Import the template from Launch Pad.
- Configure and verify the sender email in SendGrid.
- Run workflow.
This template uses SendGrid integration. Ensure that you obtain the SendGrid API key from your SendGrid account.
Step 1: Import the template
The endpoint monitoring template is available only in the Developer Edition initial Launch Pad.
To import the template:
- Go to Developer Edition > Launch Pad on the left navigation menu.
- In Pre-built Workflow Templates, select HTTP Endpoint Monitoring, and then choose Use Template.
- Select Import.
- In Required Integrations > SendGrid email, either select an existing SendGrid integration or create a new one.
- (If creating a new integration) Select Create integration from the dropdown list.
- Enter an Integration name.
- In API Key, paste the API key copied from the SendGrid account.
- Enter a Description for the integration.
- Select Save.
- Select Continue Workflow to import the workflow.
The HTTP_EndPoint_Monitoring workflow is now imported and ready for use.
Understand the workflow logic
This section explains the workflow logic and how to execute it.
Workflow inputs:
- URL: The HTTP(S) endpoint to be monitored using the workflow.
- sender_email: The sender email address to display the alert.
- customer_email:The recipient email address for alert notifications.
Example input payload:
{
 "URL": "https://orkes.io/",
 "sender_email": "verified-sender@example.com",
 "customer_email": "alerts@example.com"
}
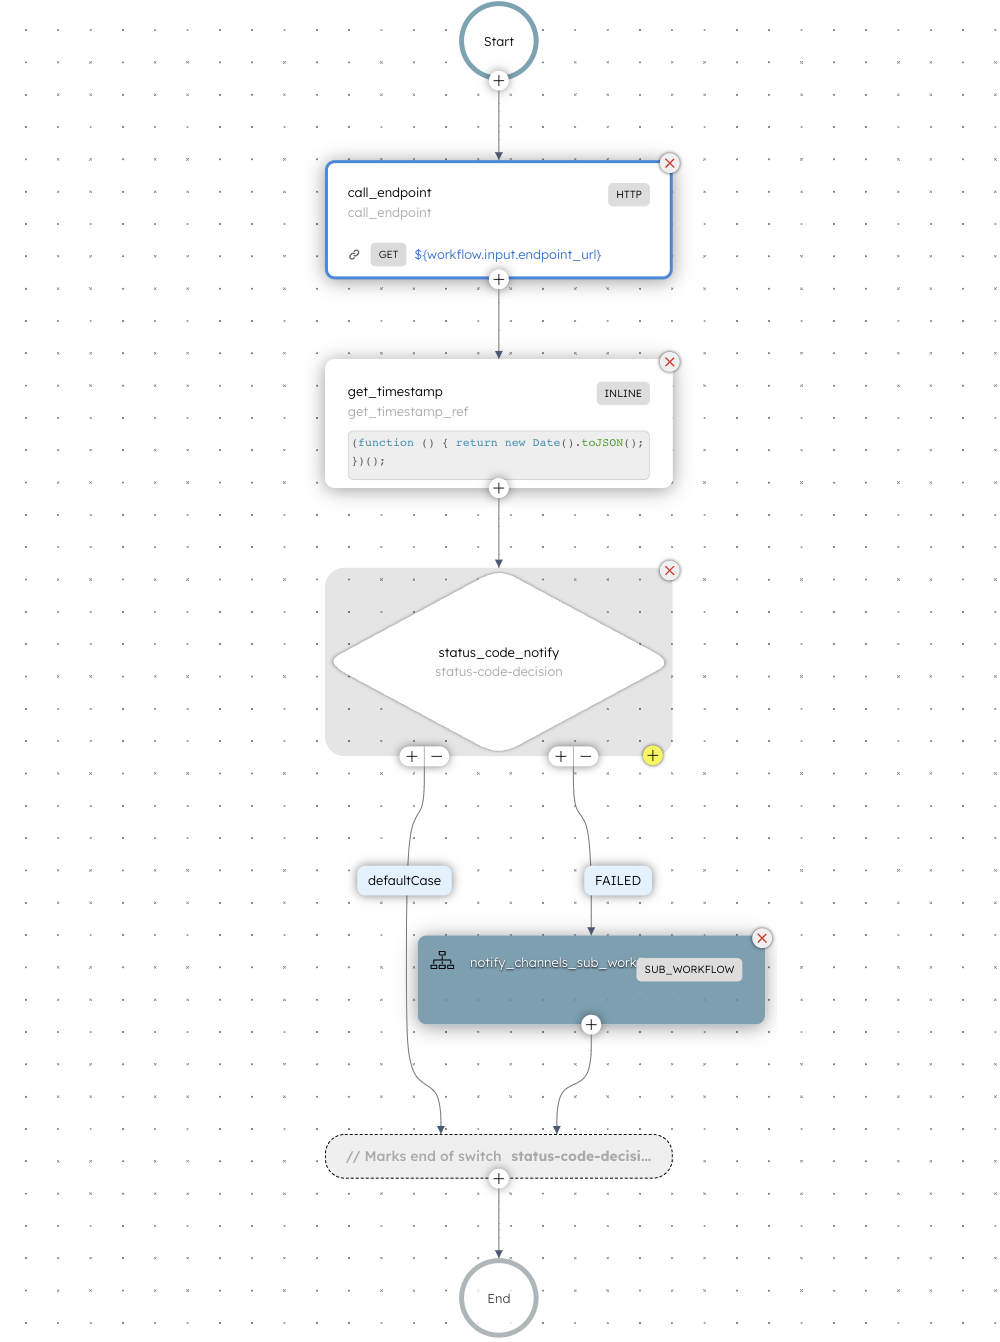
Workflow logic:
- The workflow begins with an HTTP task that sends a GET request to the specified endpoint.
- Next, the Switch task evaluates the HTTP status code to determine if the response indicates a success (200) or failure. Only HTTP 200 is treated as success; valid 2xx codes such as 201 and 204 also trigger the failure path.
- If the response status code is 200, a Set Variable task sets a success flag, and the workflow completes.
- For any other response or failure (e.g., DNS error), the Switch task routes the execution to the defaultCase path.
- In the defaultCase path, a SendGrid task sends an email notification using the provided sender and recipient addresses. The subject and message content indicate that the endpoint health check failed.
- After sending the alert, a Terminate task ends the workflow with the reason “did not receive 200 status code.”
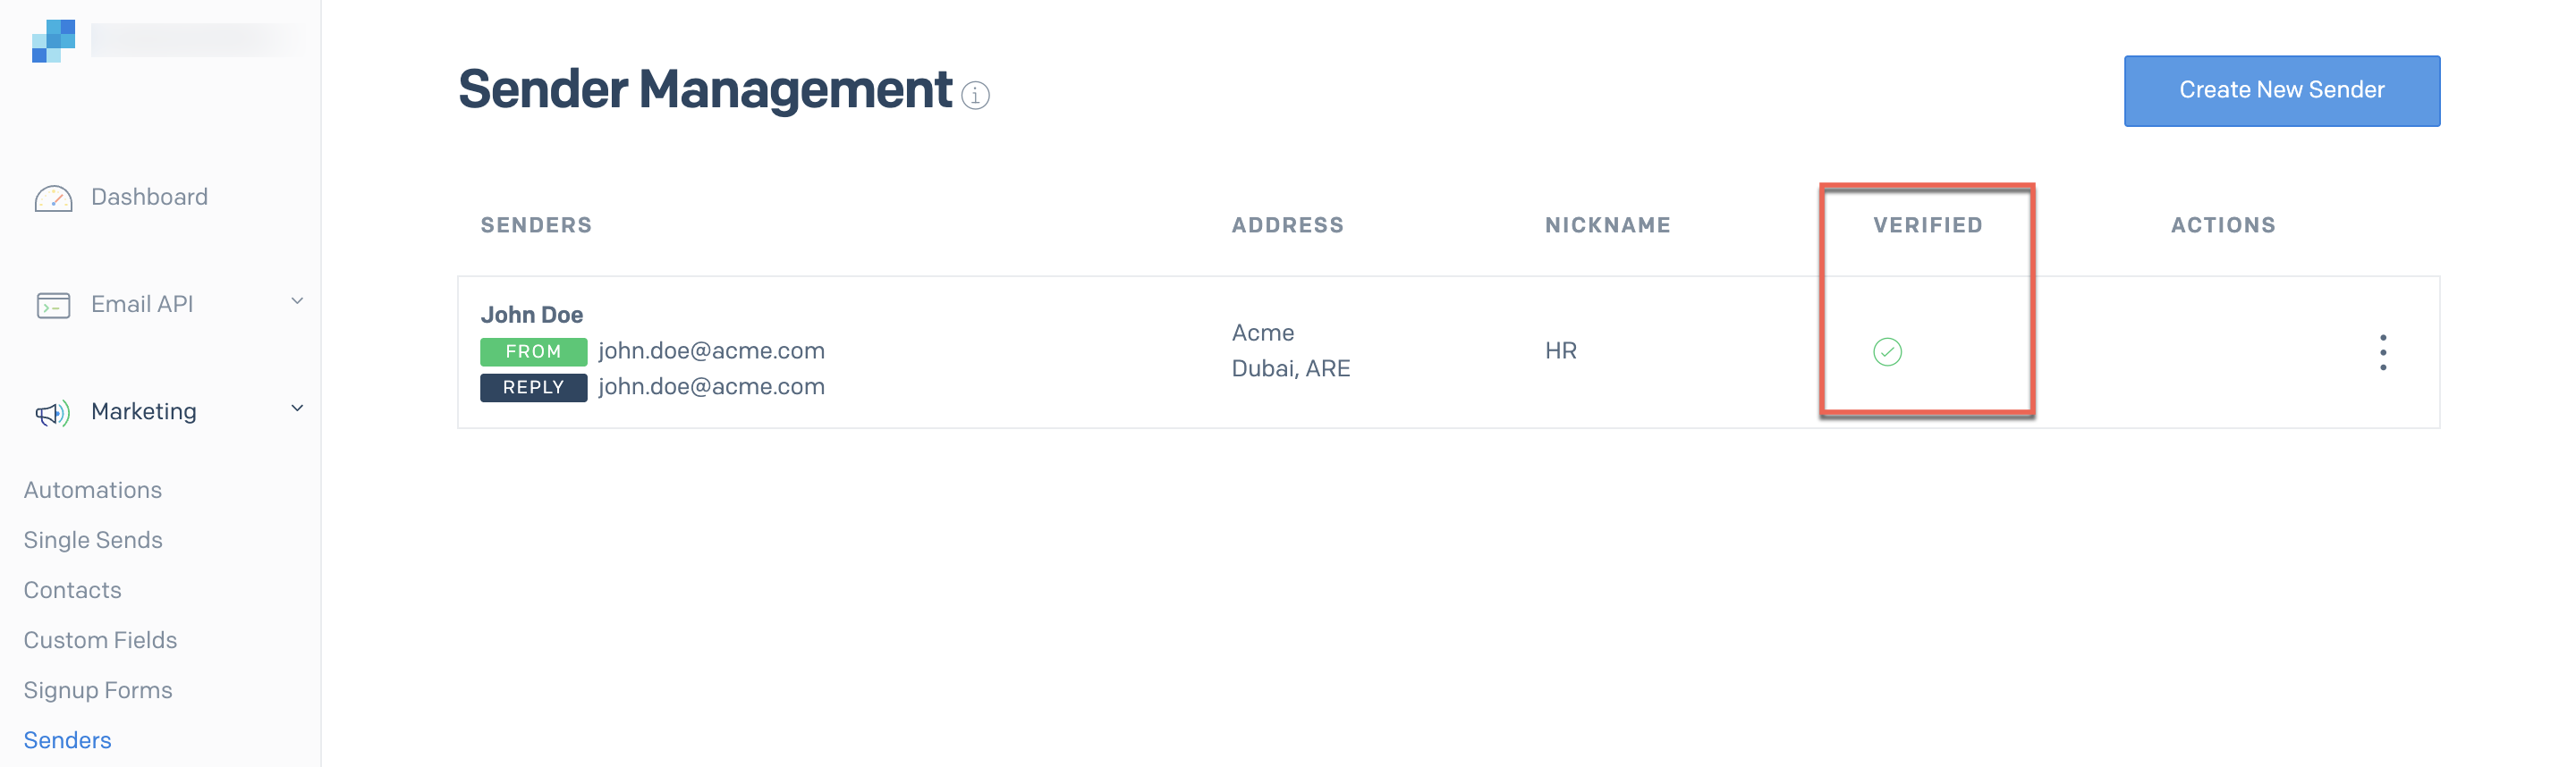
Step 2: Configure and verify sender email in SendGrid
For the SendGrid integration to work, the sender email must be verified.
To verify the sender email:
- Go to Marketing > Senders from the left menu on your SendGrid account.
- Select Create New Sender.
- Enter the following mandatory parameters:
- From Name
- From Email Address
- Reply to
- Company Address
- City
- Country
- Nickname
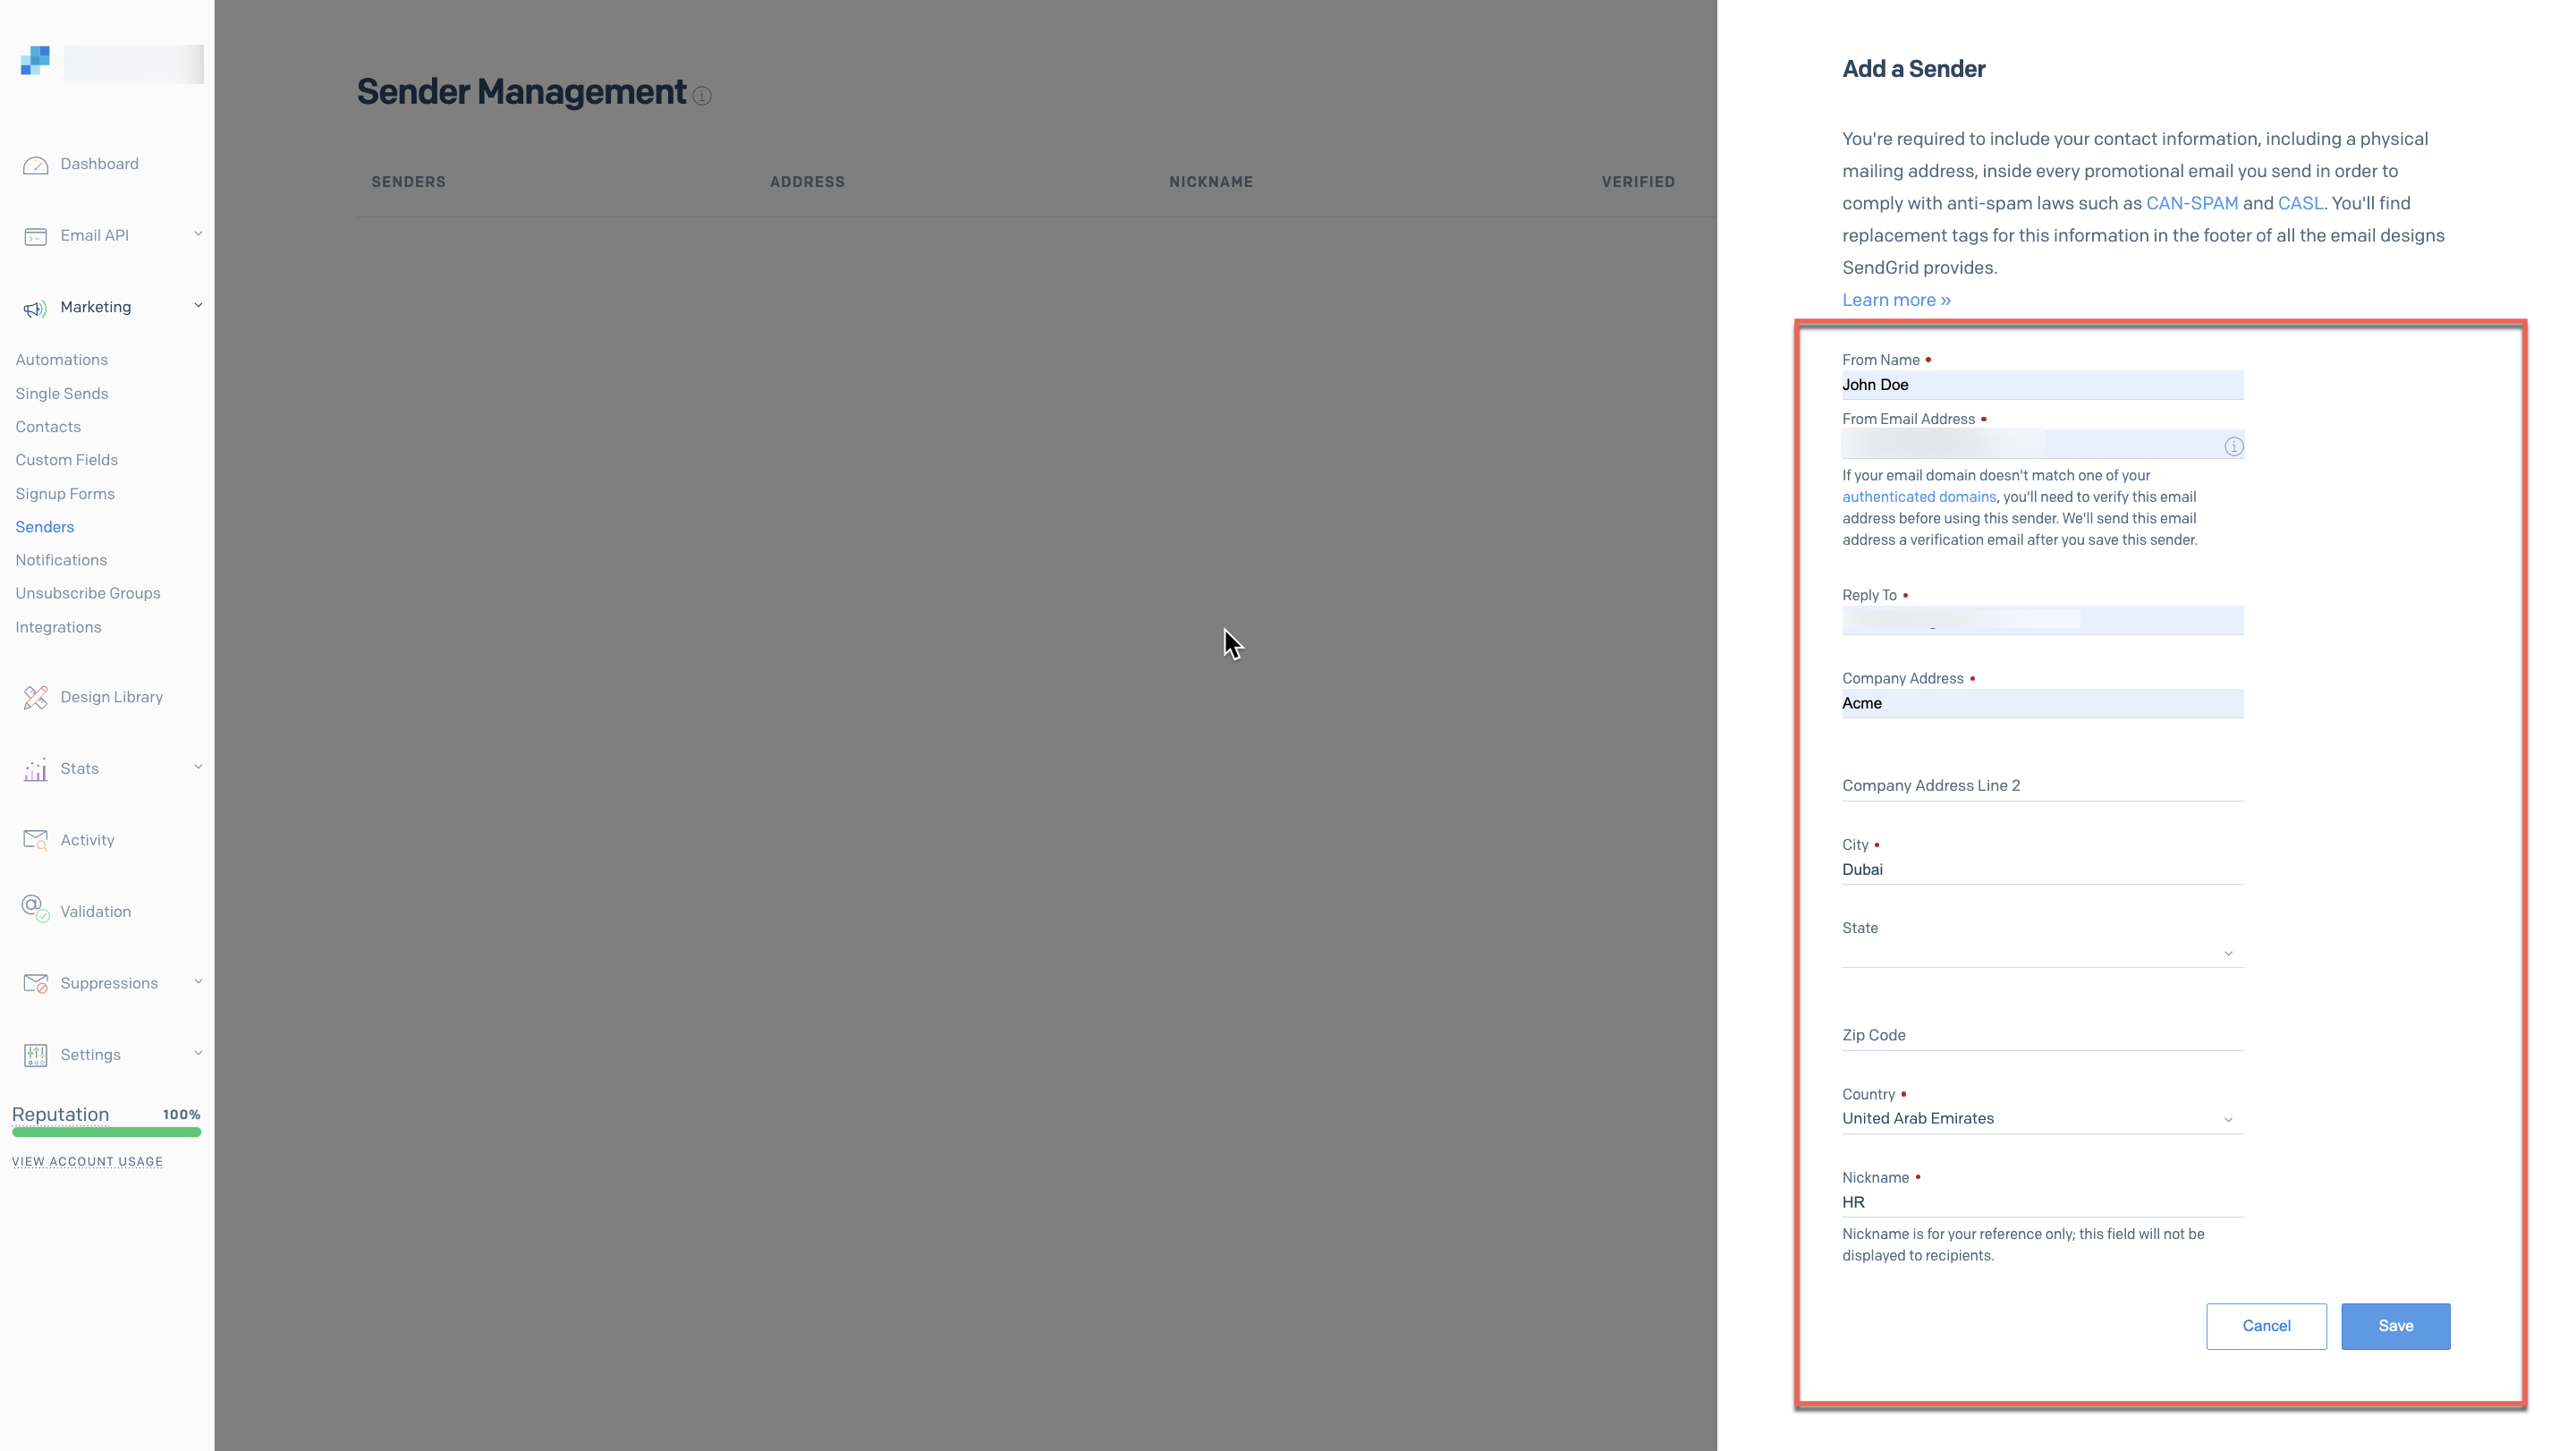
- Select Save.
This saves the sender to your SendGrid portal and sends a verification email. Once the verification link in the email is clicked, the sender’s status is updated to verified in the SendGrid portal.
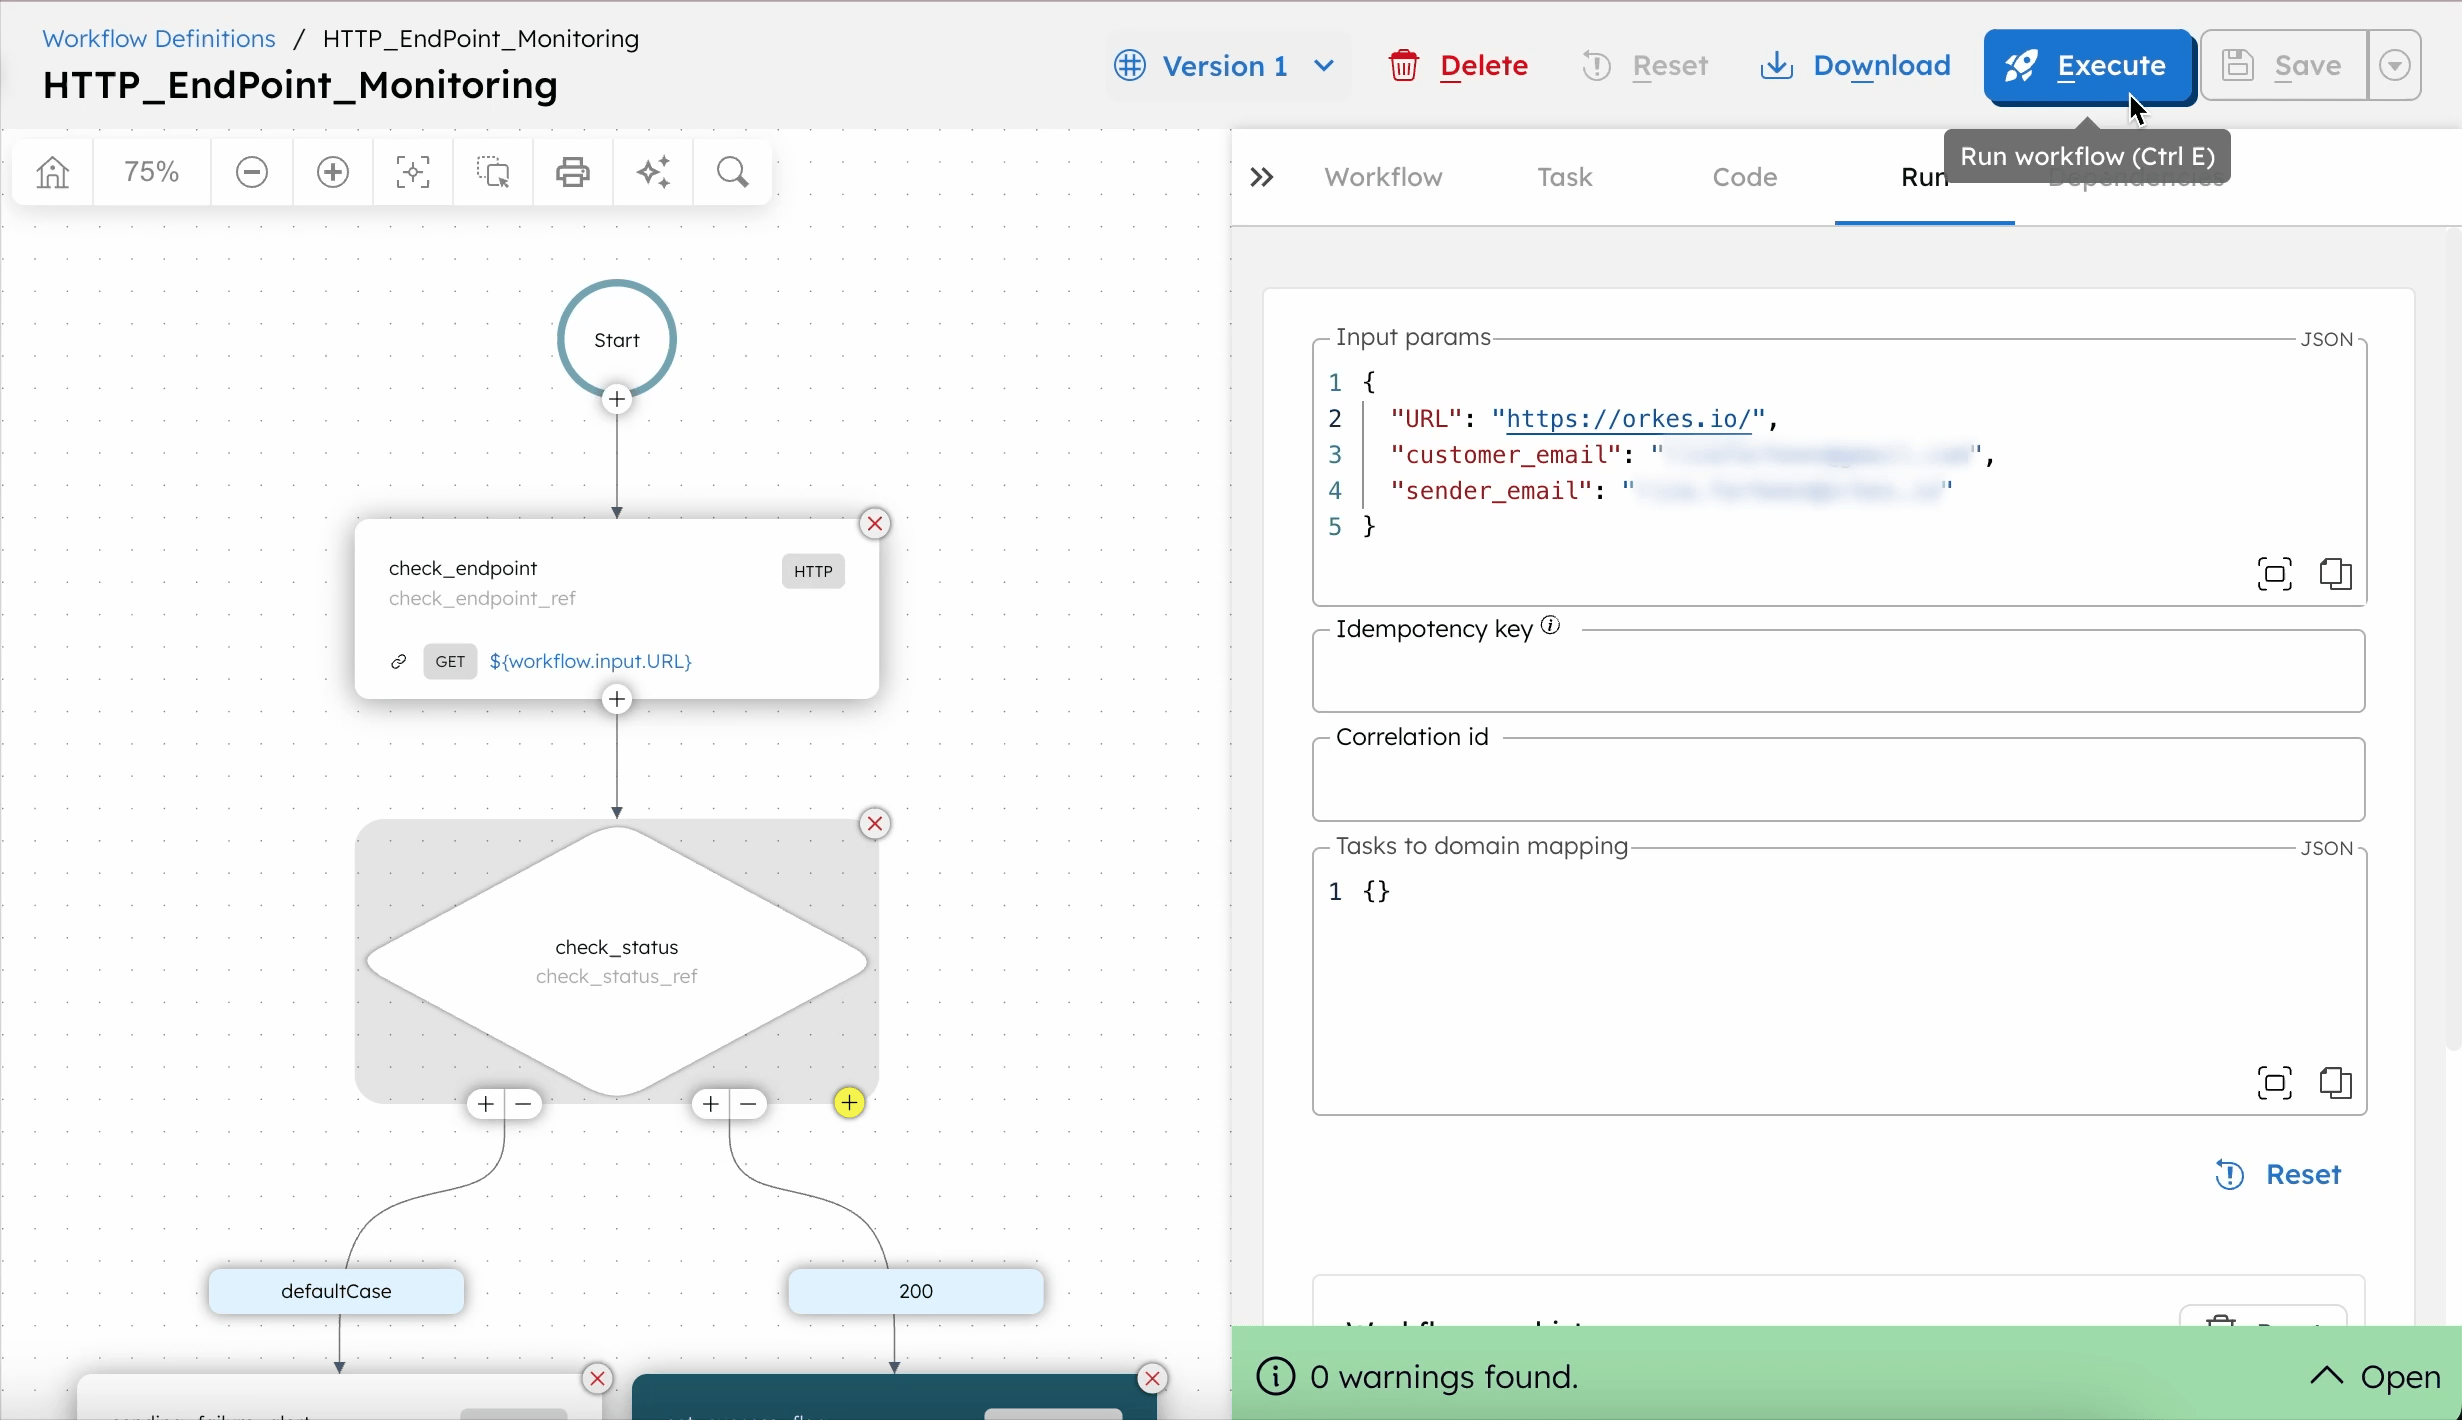
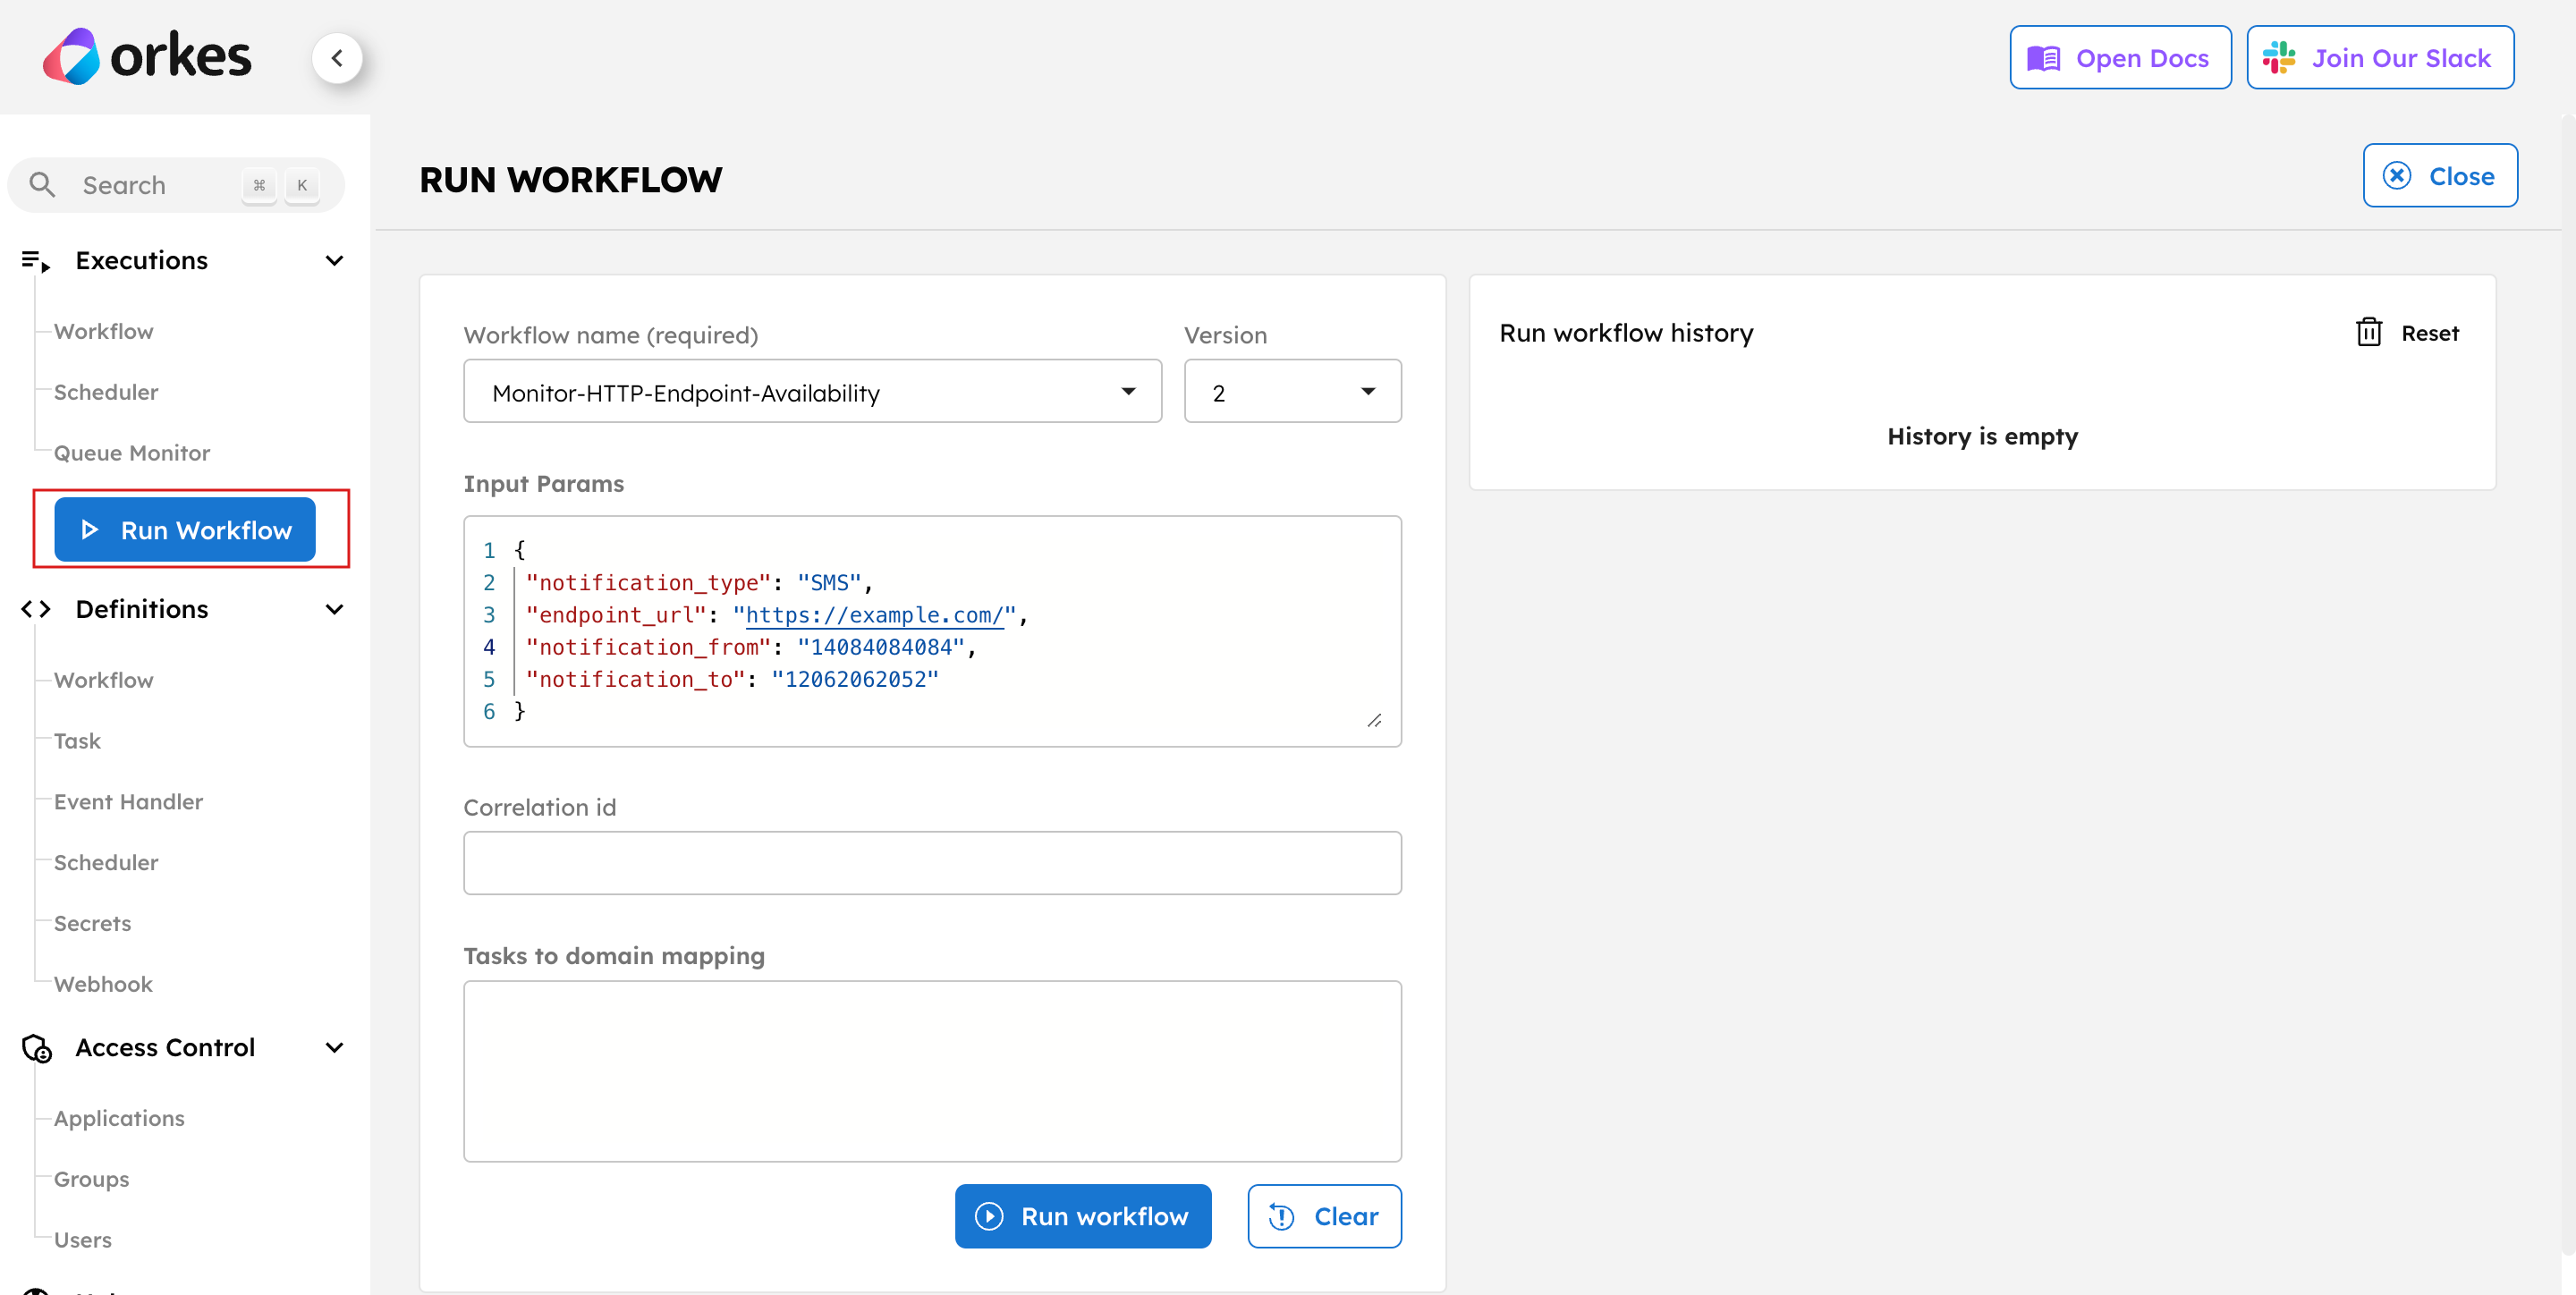
Step 3: Run the workflow
To run the workflow:
- From the
HTTP_EndPoint_Monitoringworkflow definition, go to the Run tab. - Enter the Input Params. For example:
{
 "URL": "https://orkes.io/",
 "sender_email": "<YOUR-SENDGRID-VERIFIED-EMAIL>",
 "customer_email": "<ALERT-RECEIVER-EMAIL>"
}
- Select Execute.
Workflow output
If the monitored HTTP endpoint is healthy, the workflow follows the success path (200) and completes successfully.
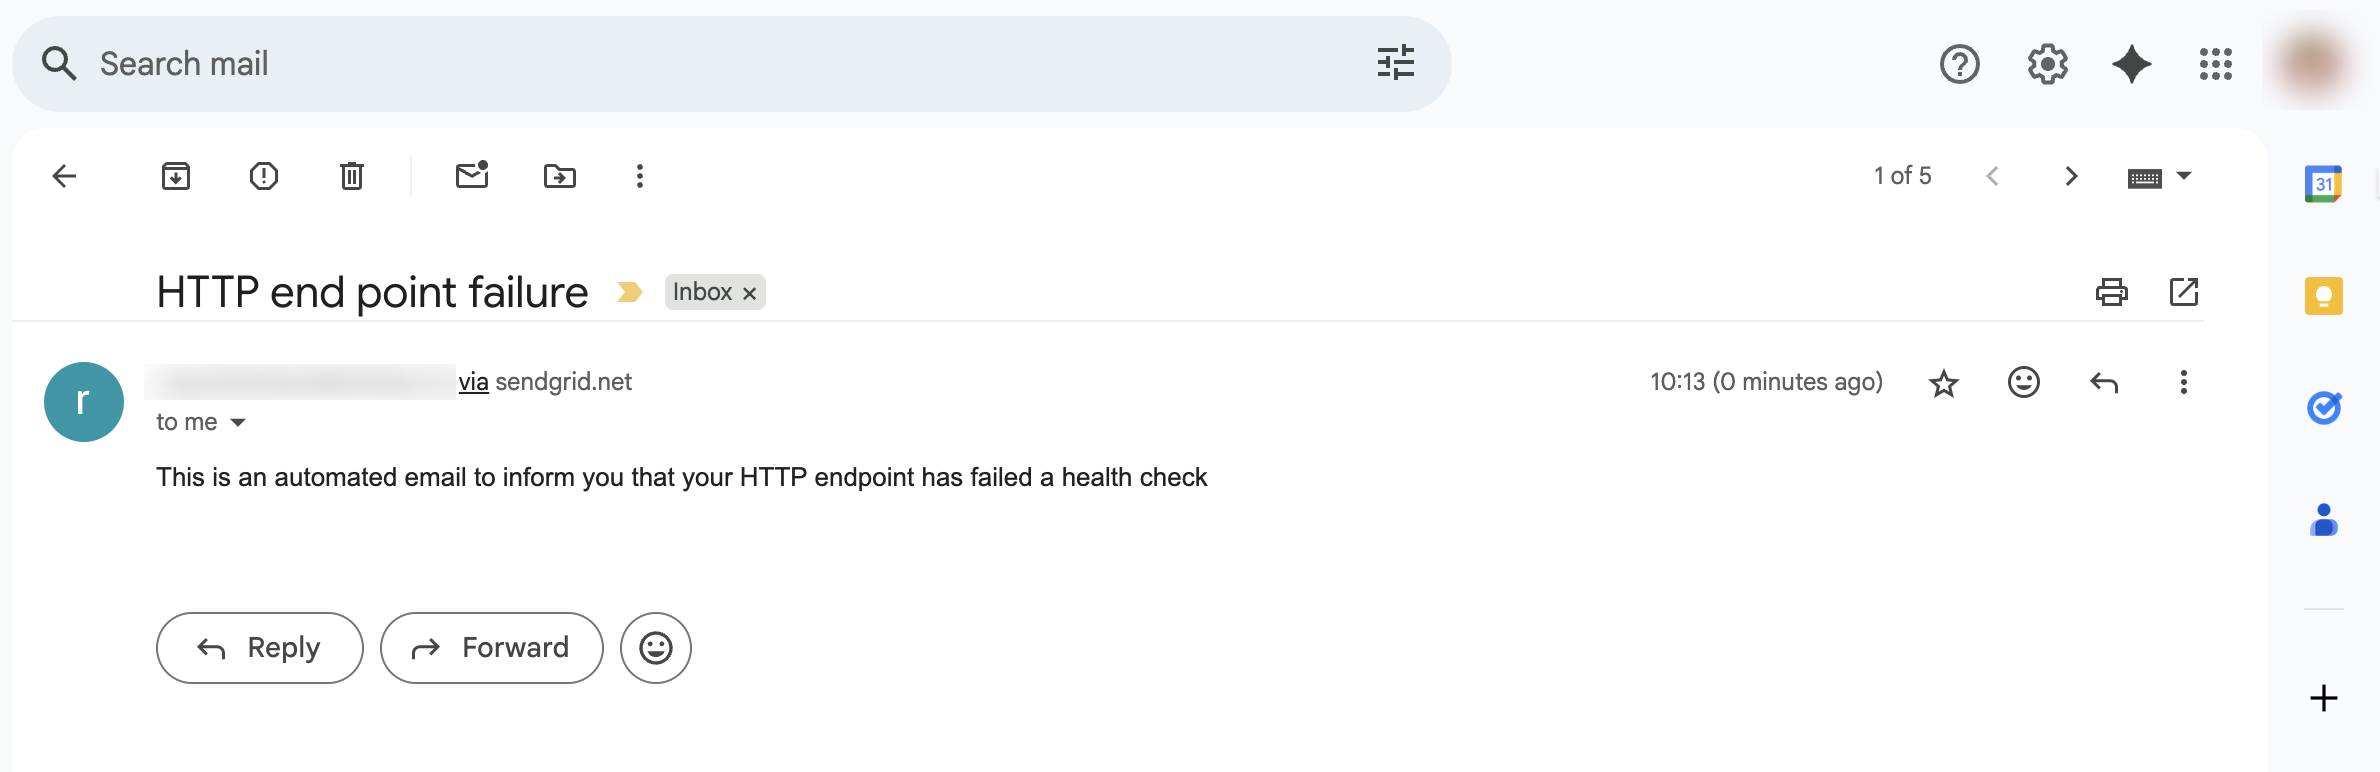
If the endpoint is down, the workflow follows the defaultCase, sends an alert email, and ends with a termination reason.

The user receives an alert email through SendGrid.
Workflow modifications
This template serves as a starting point for customizing the workflow to meet your specific needs. You can add additional steps, such as:
- Add a different provider (such as Opsgenie for incident notifications, Slack/Microsoft Teams notifications, or integrate with Jira/Zendesk via API).
- Modify the email content according to your requirements and next steps.
- Add any escalation steps.