Google Gemini AI Integration with Orkes Conductor
To use system AI tasks in Orkes Conductor, you must integrate your Conductor cluster with the necessary AI/LLM providers. This guide explains how to integrate Google Gemini AI with Orkes Conductor. Here’s an overview:
- Get the required credentials from Google Gemini AI.
- Configure a new Google Gemini AI integration in Orkes Conductor.
- Add models to the integration.
- Set access limits to the AI model to govern which applications or groups can use it.
Step 1: Get the Google Gemini AI credentials
To integrate Google Gemini AI with Orkes Conductor, retrieve the project ID and service account JSON from the Google Cloud console. You must also enable the Gemini API for the selected GCP project.
Get the project ID
To get the project ID:
- Sign in to the Google Cloud Console.
- Create a new project or select an existing one.
- Get the Project ID from the dashboard.
For more information, refer to the official documentation on creating and managing projects in GCP.
Get the service account JSON
To get the service account JSON:
- Go to IAM & Admin > Service Accounts from the left menu on your GCP console.
- Create a new service or select an existing one.
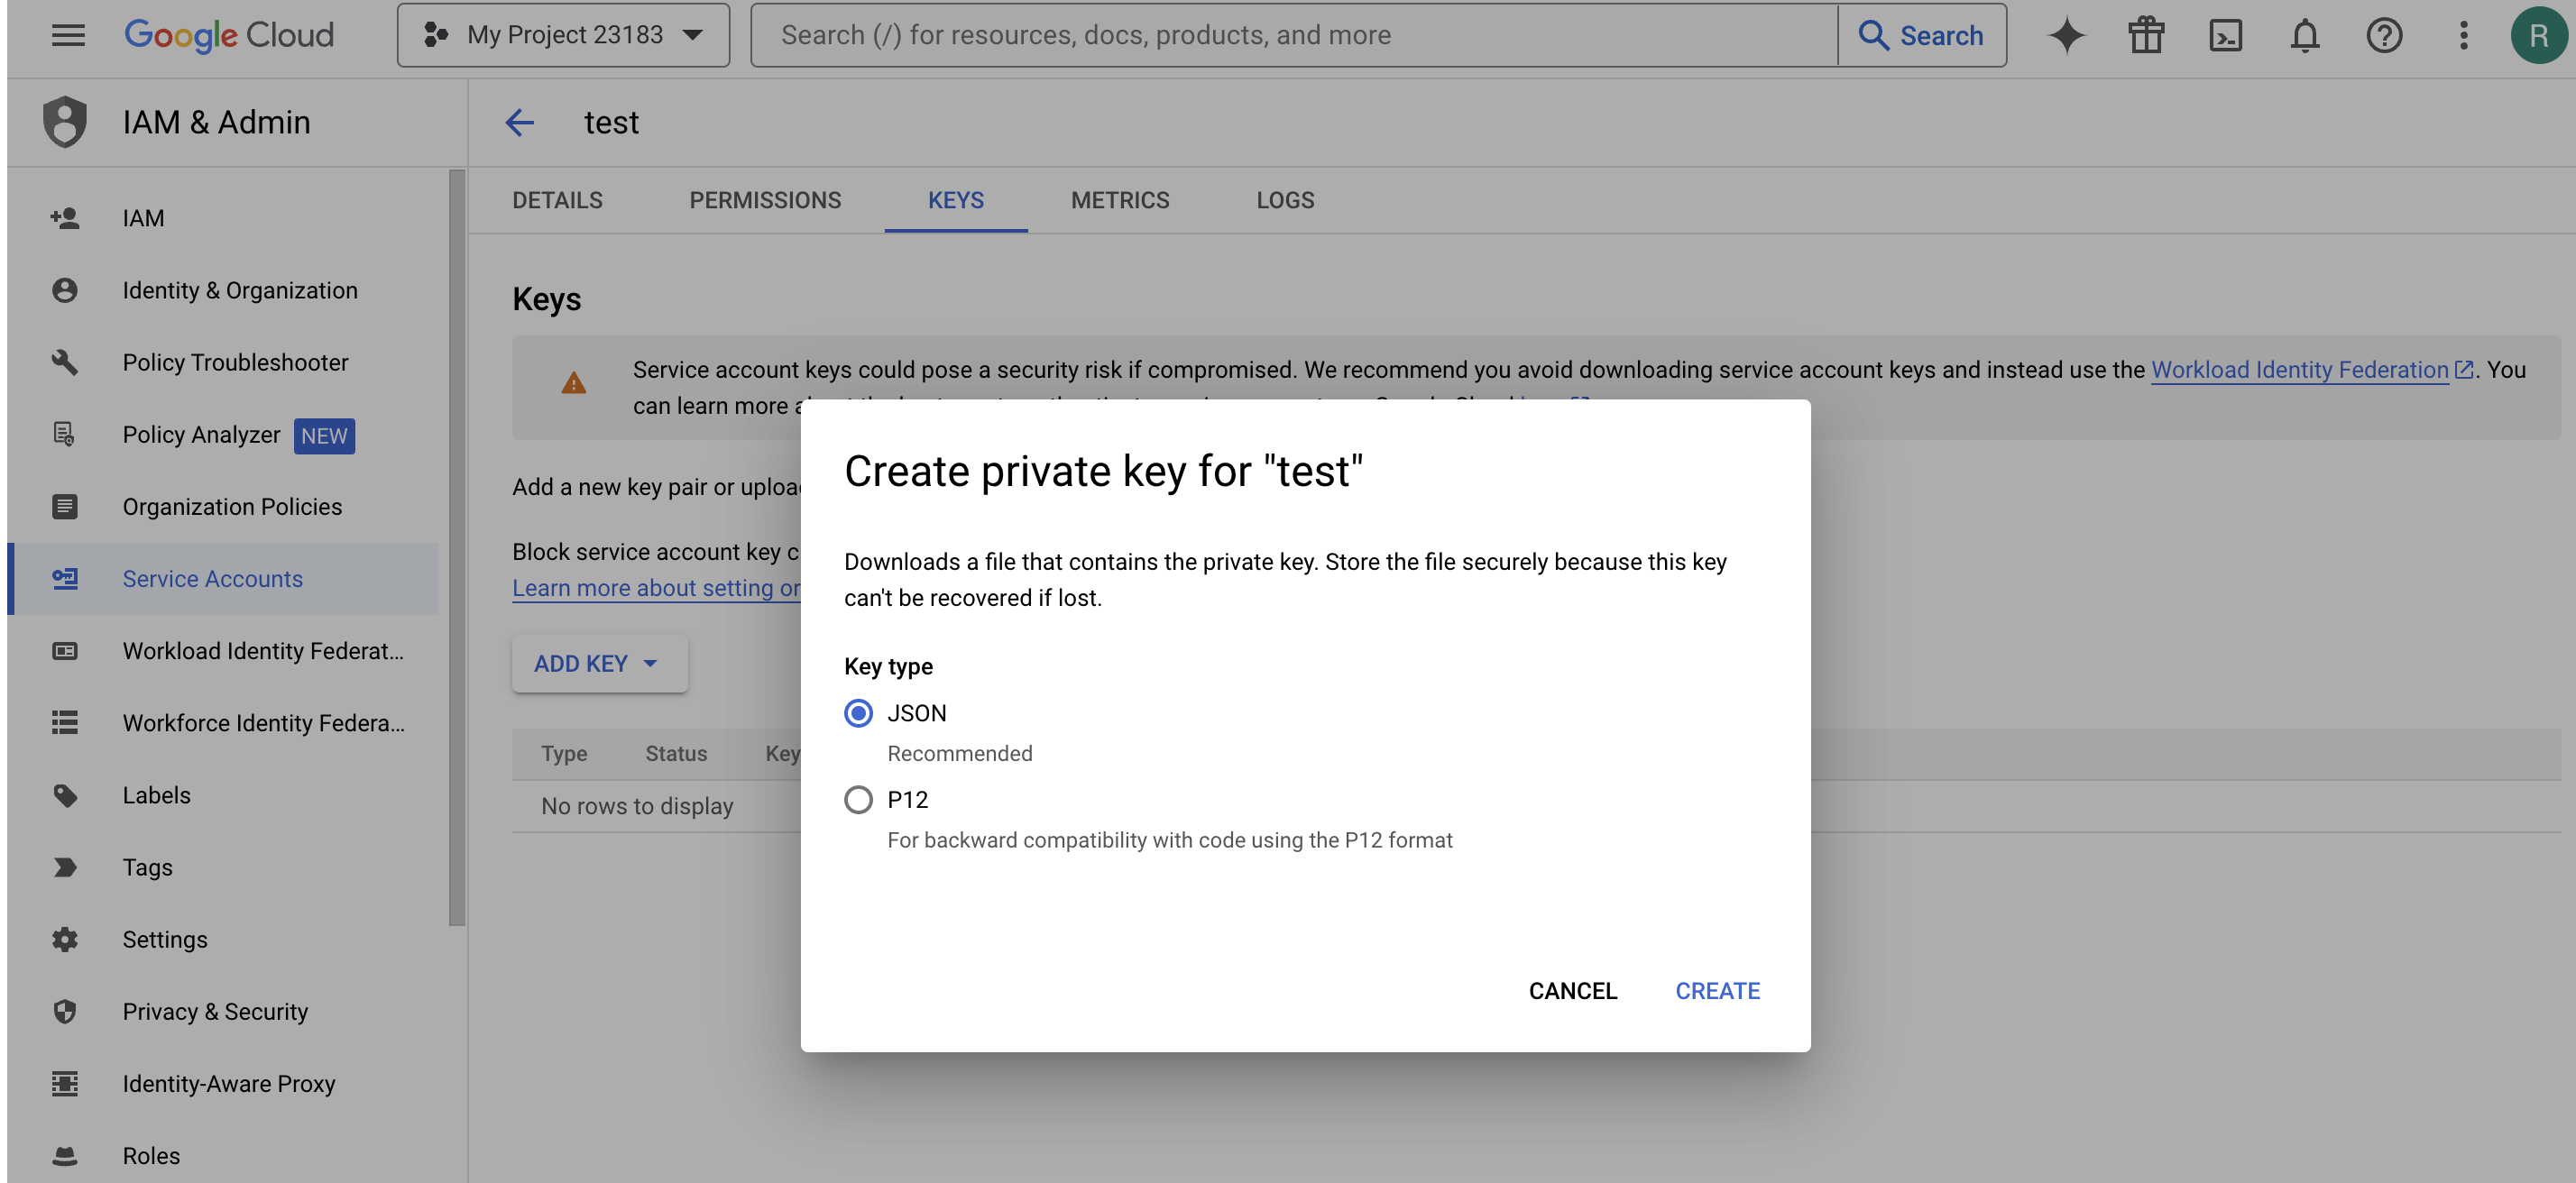
- In the Keys tab, select Add key > Create new key.
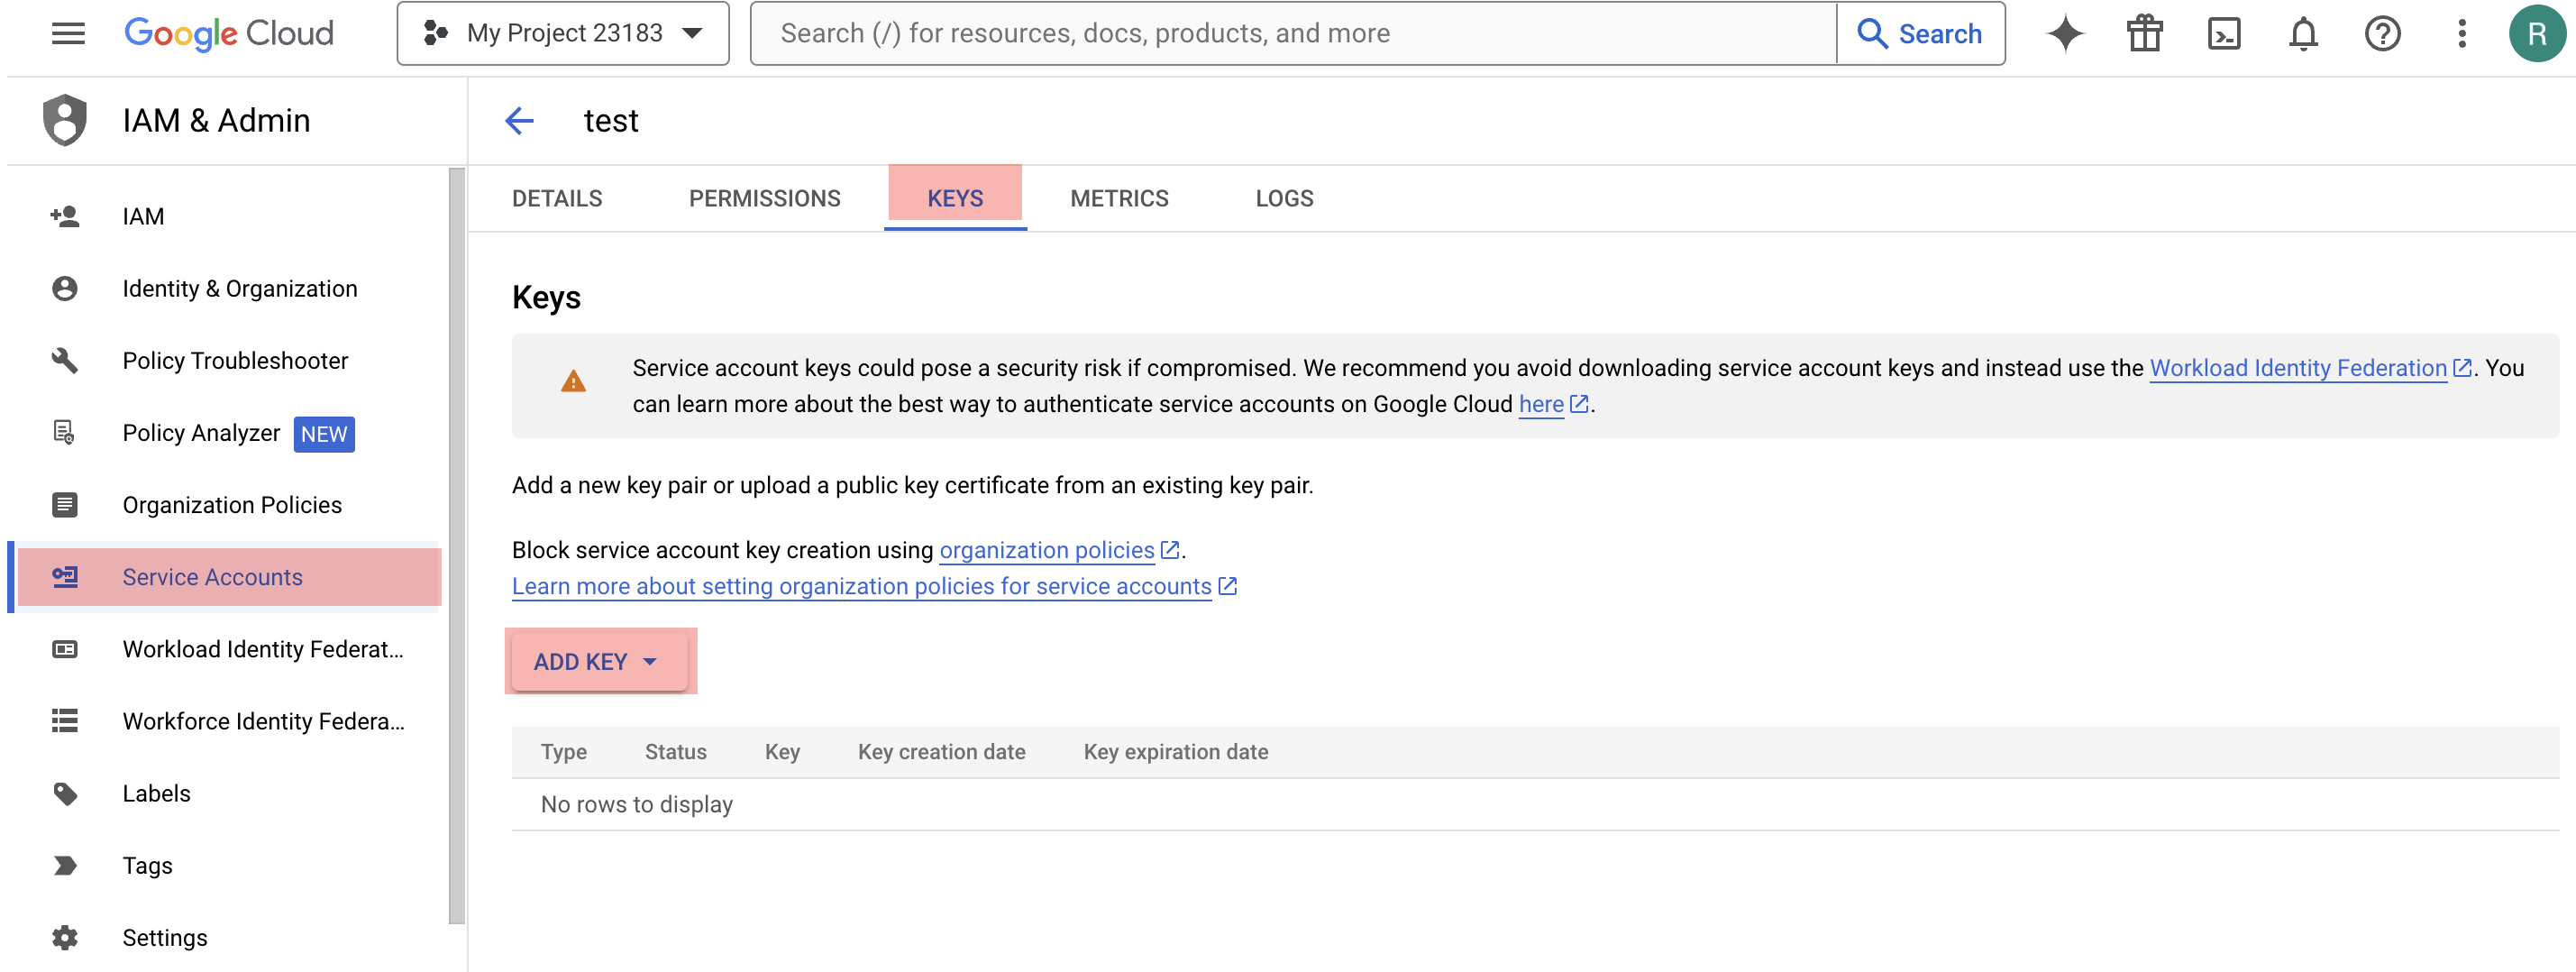
- Select the key type as JSON.
- Select Create to download the JSON file.
To use Google Gemini AI with Orkes Conductor, you must enable the Gemini API from the GCP console.
Enable Gemini API
To enable Gemini API:
- Go to APIs & Services > Enabled APIs & services from the left menu on your GCP console.
- Select + Enable APIs and services.
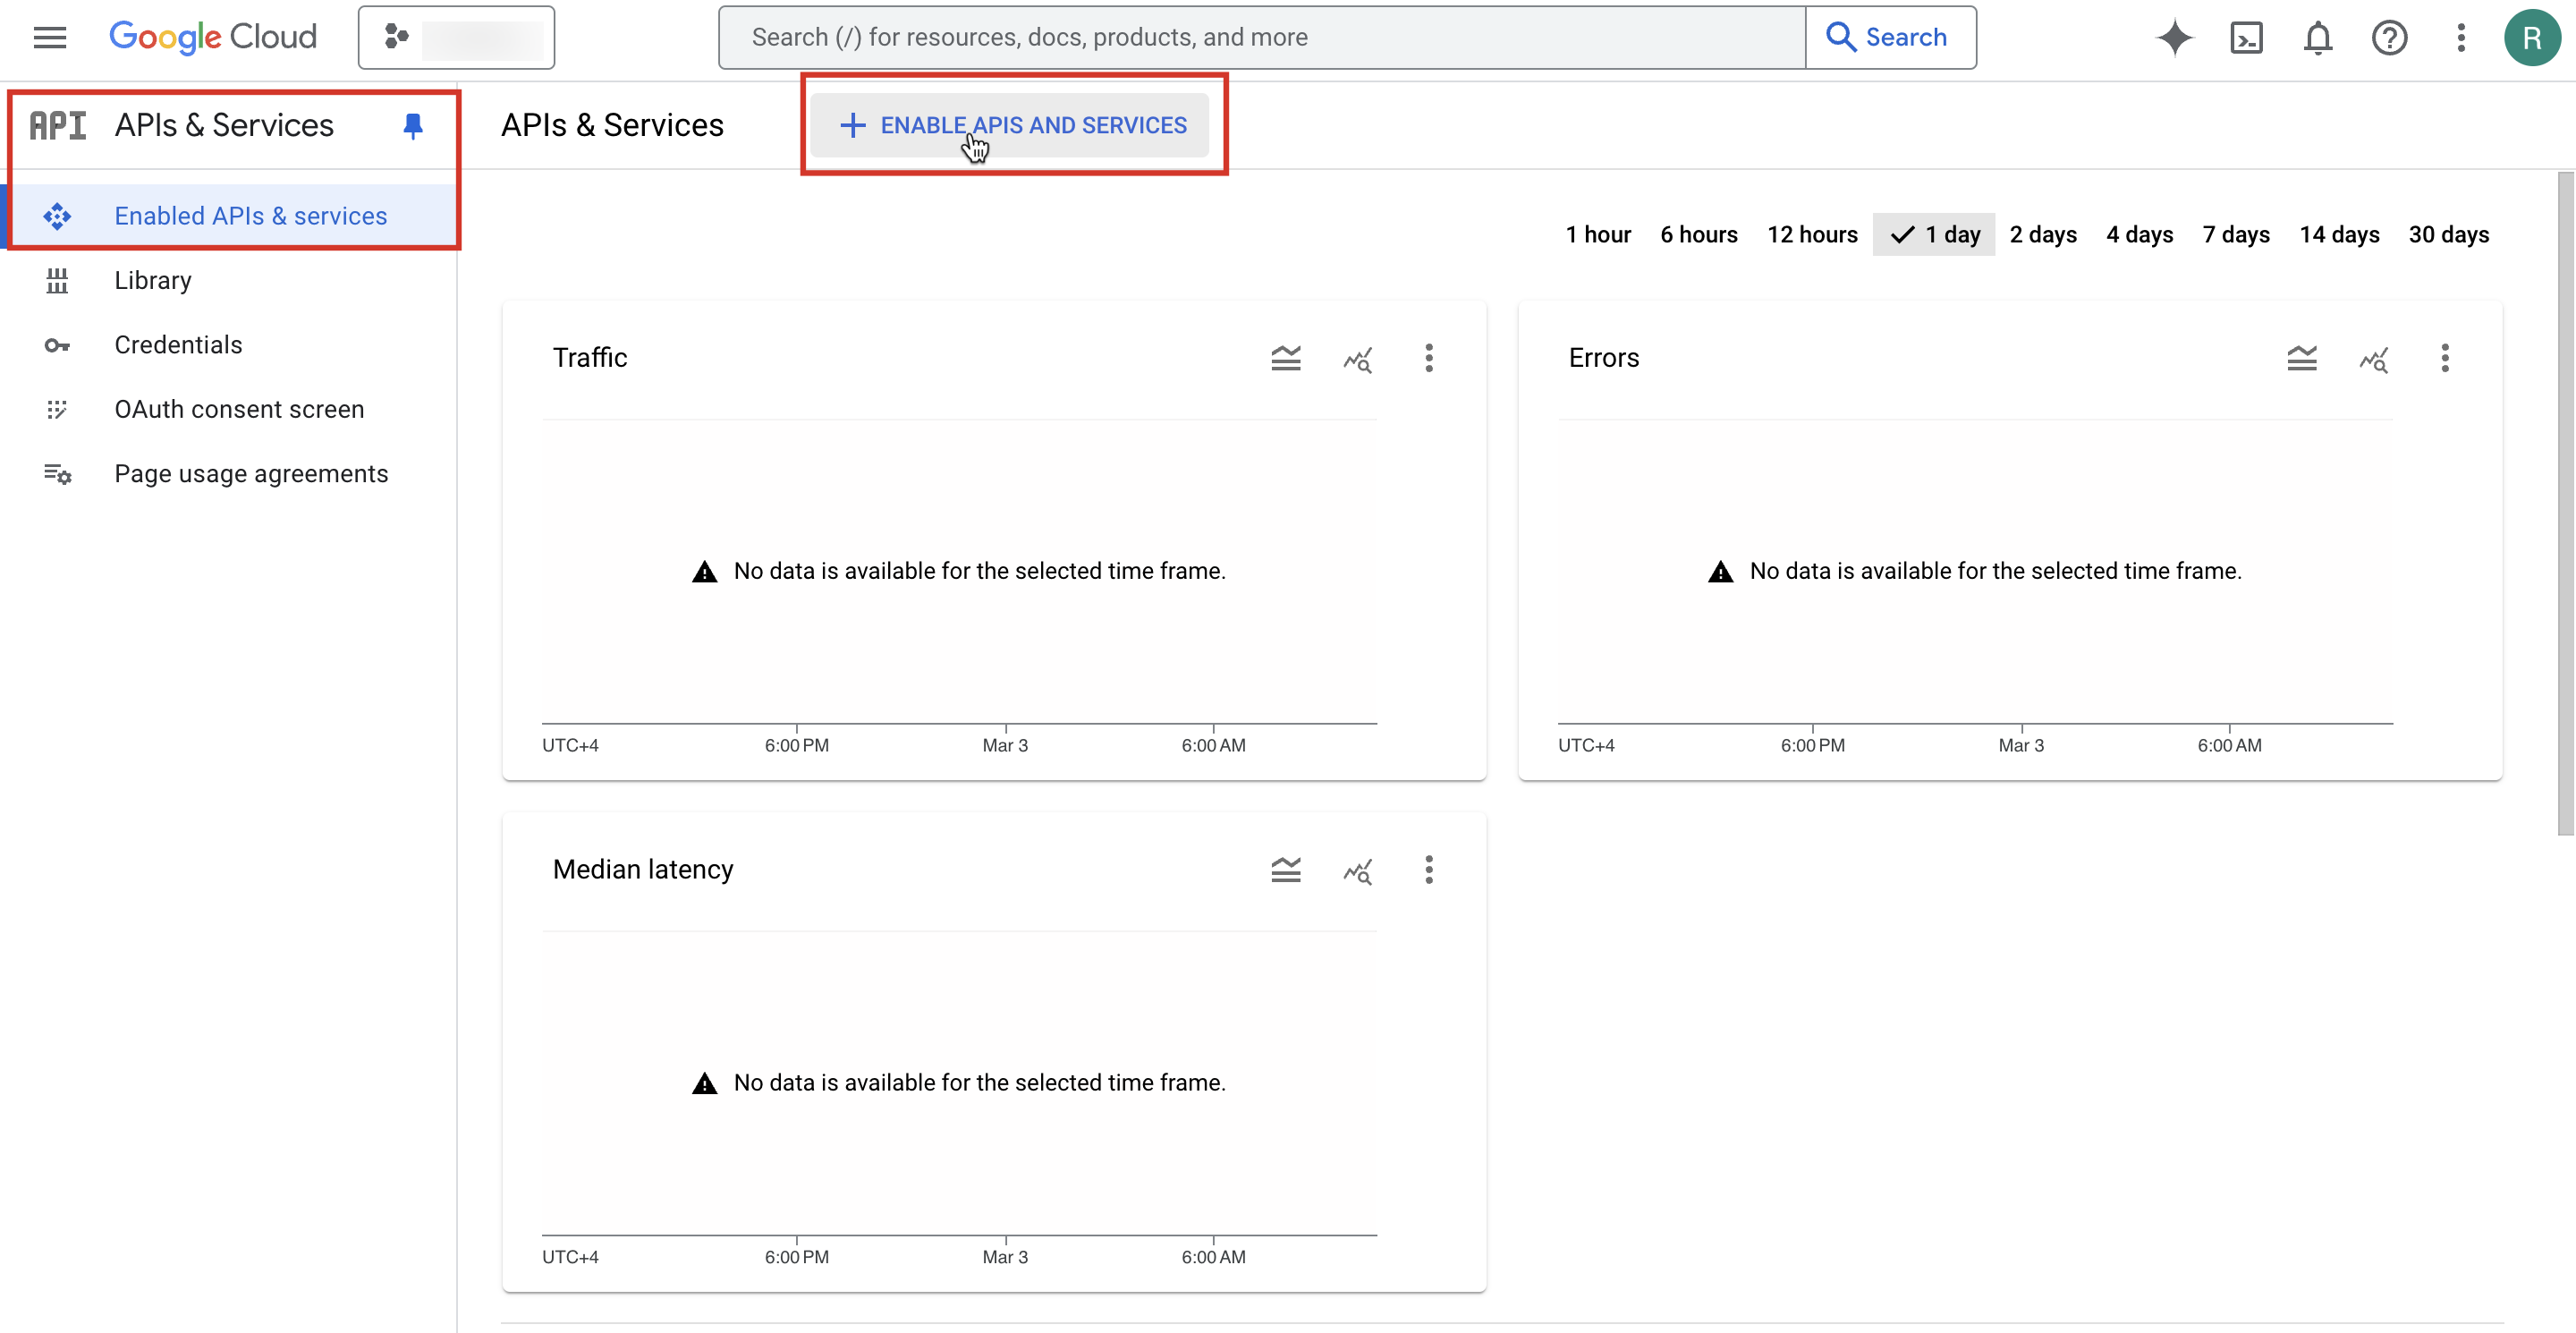
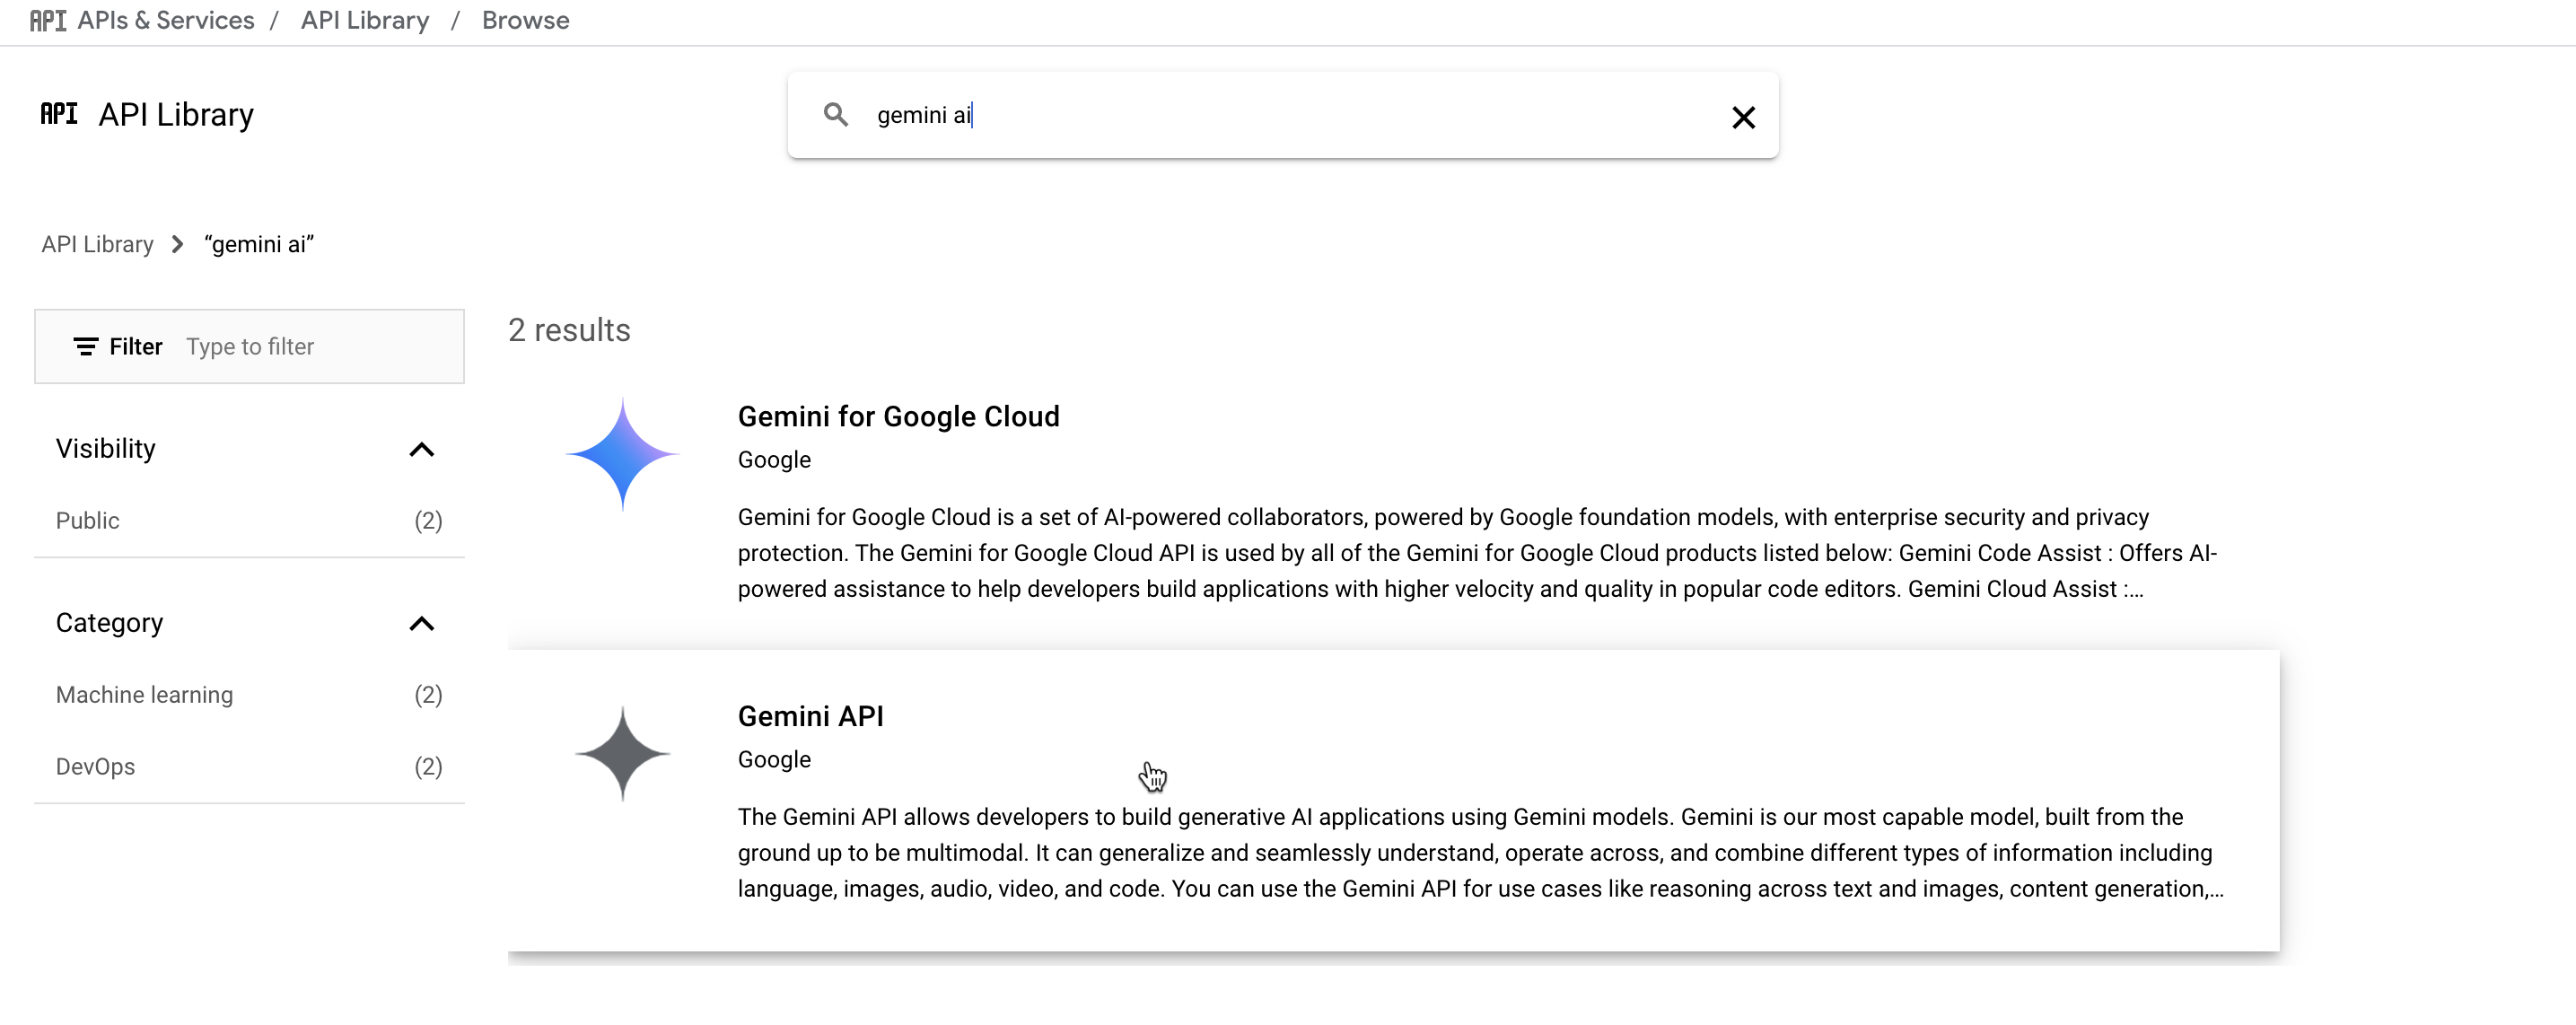
- In the API Library, search for Gemini API.
- Select Enable.
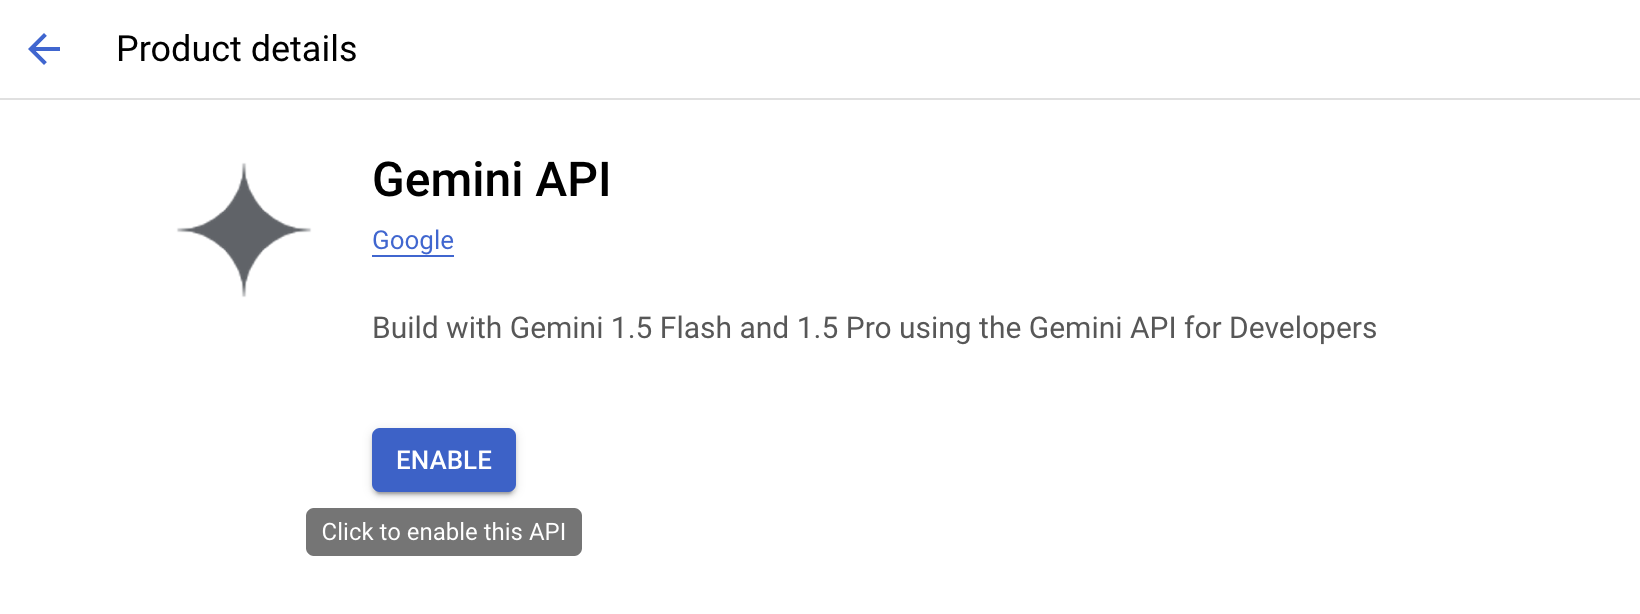
Once enabled, the Gemini API is ready for use with your GCP project.
Step 2: Add an integration for Google Gemini AI
After obtaining the credentials, add a Google Gemini AI integration to your Conductor cluster.
To create a Google Gemini AI integration:
- Go to Integrations > Connections and Resources from the left navigation menu on your Conductor cluster.
- Select + New integration.
- In the AI/LLM section, choose Google Gemini AI.
- Select + Add and enter the following parameters:
| Parameter | Description |
|---|---|
| Integration name | A name for the integration. |
| Project ID | The Project ID retrieved from the GCP console. |
| Location | The Google Cloud region of your GCP account. |
| Choose Service account credentials JSON | Upload the service account JSON file (generated previously), which is a key file containing the credentials for authenticating the Orkes Conductor cluster with the GCP services. |
| Description | A description of your integration. |
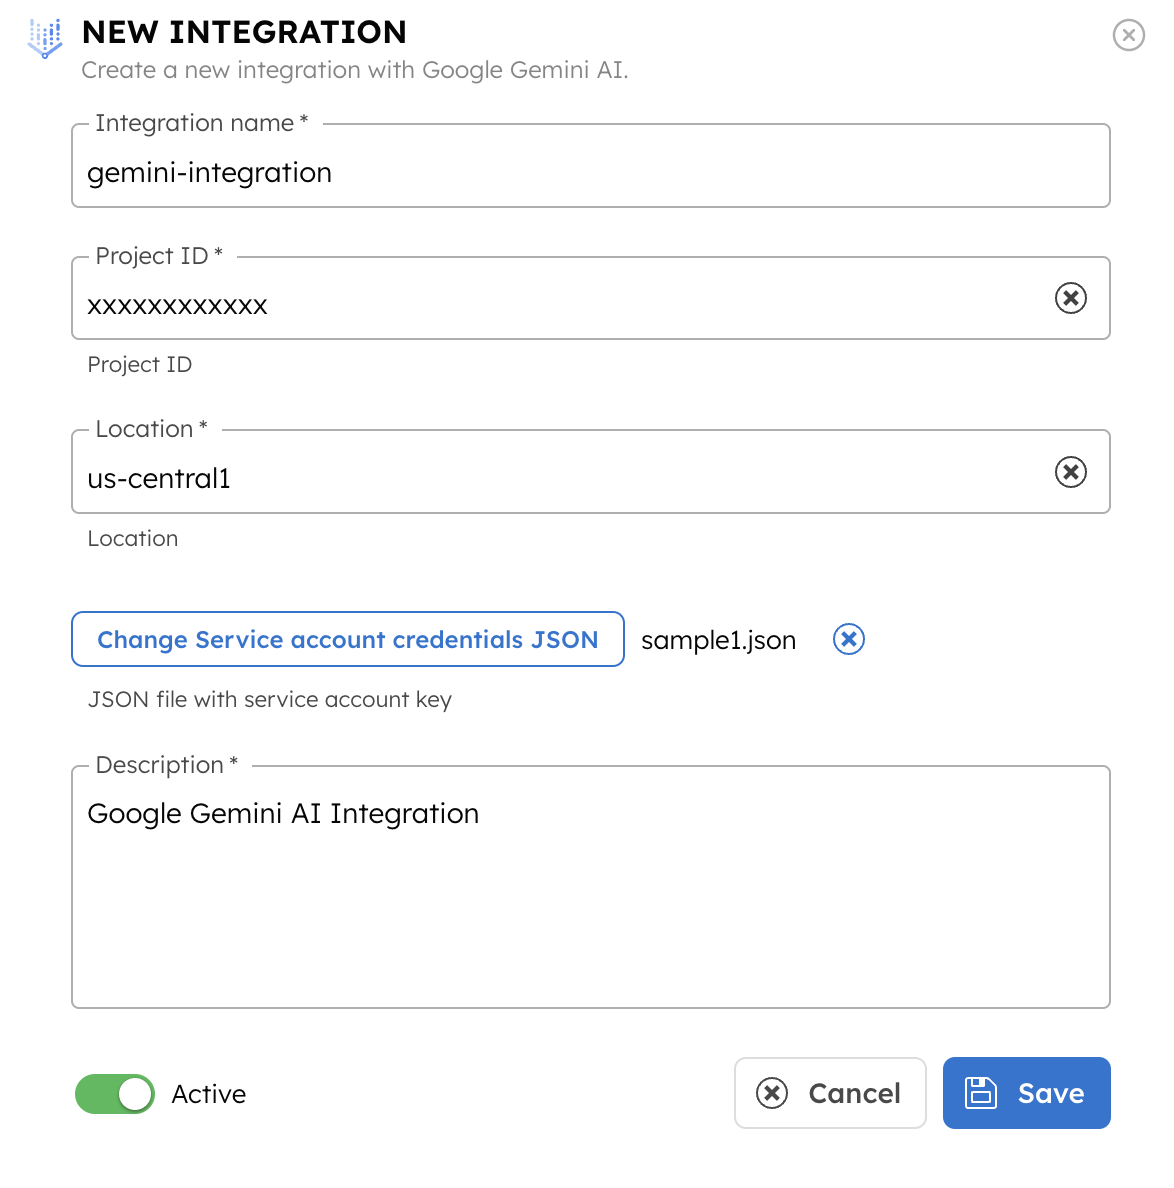
- (Optional) Toggle the Active button off if you don’t want to activate the integration instantly.
- Select Save.
Step 3: Add Google Gemini AI models
Once you’ve integrated Google Gemini AI, the next step is to configure specific models. Google Gemini AI has different models, each designed for various use cases. Choose the model that best fits your use case.
To add a model to the Google Gemini AI integration:
- Go to Integrations and select the + button next to the integration created.

- Select + New model.
- Enter the Model name. The name must exactly match the Gemini AI model name. For a complete list, see the Gemini AI documentation.
- Provide a Description.
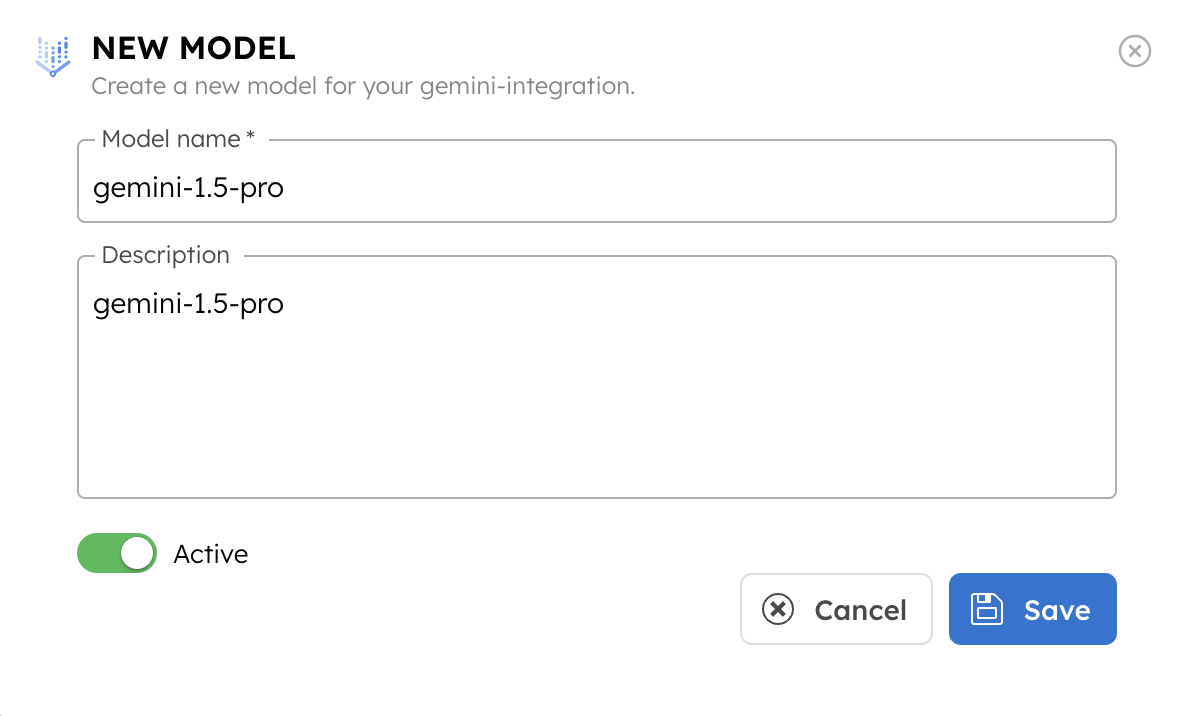
- (Optional) Toggle the Active button off if you don’t want to activate the model instantly.
- Select Save.
This saves the model for future use in AI tasks within Orkes Conductor.
Step 4: Set access limits to integration
Once the integration is configured, set access controls to manage which applications or groups can use the models.
To provide access to an application or group:
- Go to Access Control > Applications or Groups from the left navigation menu on your Conductor cluster.
- Create a new group/application or select an existing one.
- In the Permissions section, select + Add Permission.
- In the Integration tab, select the required AI models and toggle the necessary permissions.

- Select Add Permissions.
The group or application can now access the AI model according to the configured permissions.
With the integration in place, you can now create workflows using AI/LLM tasks.