NATS Messaging Integration with Orkes Conductor
To use the Event task, Event Handler, or enable Change Data Capture (CDC) in Orkes Conductor, you must integrate your Conductor cluster with the necessary message brokers. This guide explains how to integrate NATS Messaging with Orkes Conductor to publish and receive messages from queues. Here’s an overview:
- Get the required credentials from the NATS server.
- Configure a new NATS Messaging integration in Orkes Conductor.
- Set access limits to the message broker to govern which applications or groups can use it.
Step 1: Get the NATS server credentials
To integrate NATS Messaging with Orkes Conductor, retrieve the following credentials from your NATS server:
- Server name
- (If the connection is authenticated with credentials) Username and Password
- (For Jetstream connection via consumer mechanism) Stream name and Consumer name
Step 2: Add an integration for NATS Messaging
After obtaining the credentials, add a NATS Messaging integration to your Conductor cluster.
To create a NATS Messaging integration:
- Go to Integrations > Connections and Resources from the left navigation menu on your Conductor cluster.
- Select + New integration.
- In the Message Broker section, choose NATS Messaging.
- Select + Add and enter the following parameters:
| Parameters | Description | Required / Optional |
|---|---|---|
| Integration name | A name for the integration. | Required. |
| Server | The NATS server URL. | Required. |
| Connection Type | The preferred connection type. Supported values:
| Required. |
| Authentication Type | The preferred authentication method. Supported values:
| Required. |
| Username | The username of the NATS server. | Required if Authentication Type is With Credentials. |
| Password | The password associated with the username. | Required if Authentication Type is With Credentials. |
| Select security protocol | The security protocol for authenticating the connection. Supported values:
| Required. |
| Transport Layer Security | The Transport Layer Security (TLS) security mechanism. Supported values:
| Required. |
| Trust Store Authentication | The preferred trust store authentication type. Supported values:
| Required if Transport Layer Security is JKS. |
| Connection Mechanism | The connection mechanism for the Jetstream connection. Supported values:
| Required if the Connection Type is Jetstream. |
| Stream name | The name of the stream for Jetstream connection. | Required if:
|
| Consumer name | The name of the consumer for Jetstream connection. | Required if:
|
| Consumer type | The type of consumer for Jetstream connection. Supported values:
| Required if:
|
| Batch Count | The batch size for each poll. Default is 100. | Required if:
|
| Pull Period | The polling interval in milliseconds. Default is 500. | Required if:
|
| Pull batch wait time | The wait time, in milliseconds, for each batch fetch. | Required if:
|
| Description | A description of the integration. | Required. |
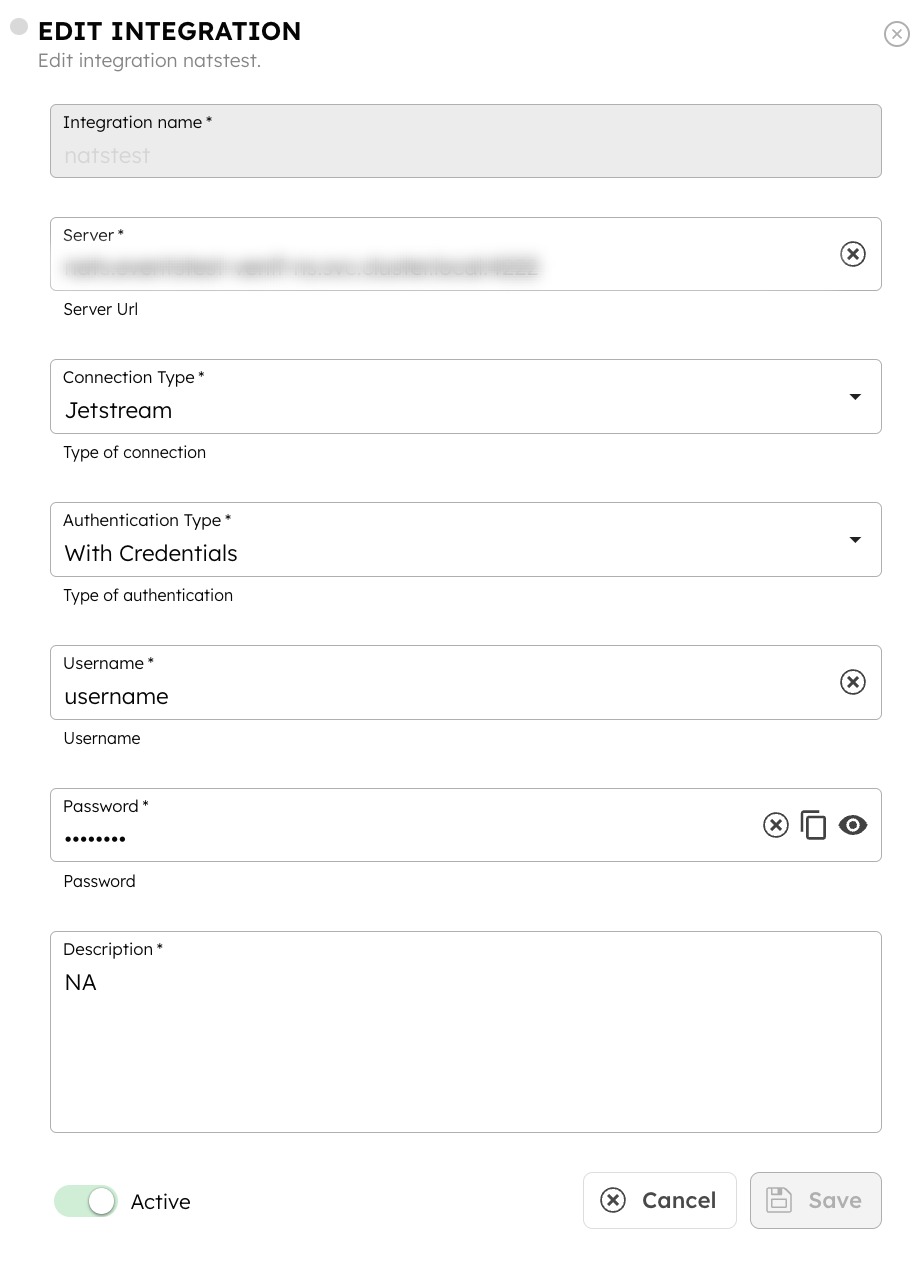
- (Optional) Toggle the Active button off if you don’t want to activate the integration instantly.
- Select Save.
Step 3: Set access limits to integration
Once the integration is configured, set access controls to manage which applications or groups can use the message broker.
To provide access to an application or group:
- Go to Access Control > Applications or Groups from the left navigation menu on your Conductor cluster.
- Create a new group/application or select an existing one.
- In the Permissions section, select + Add Permission.
- In the Integration tab, select the required message broker and toggle the necessary permissions.
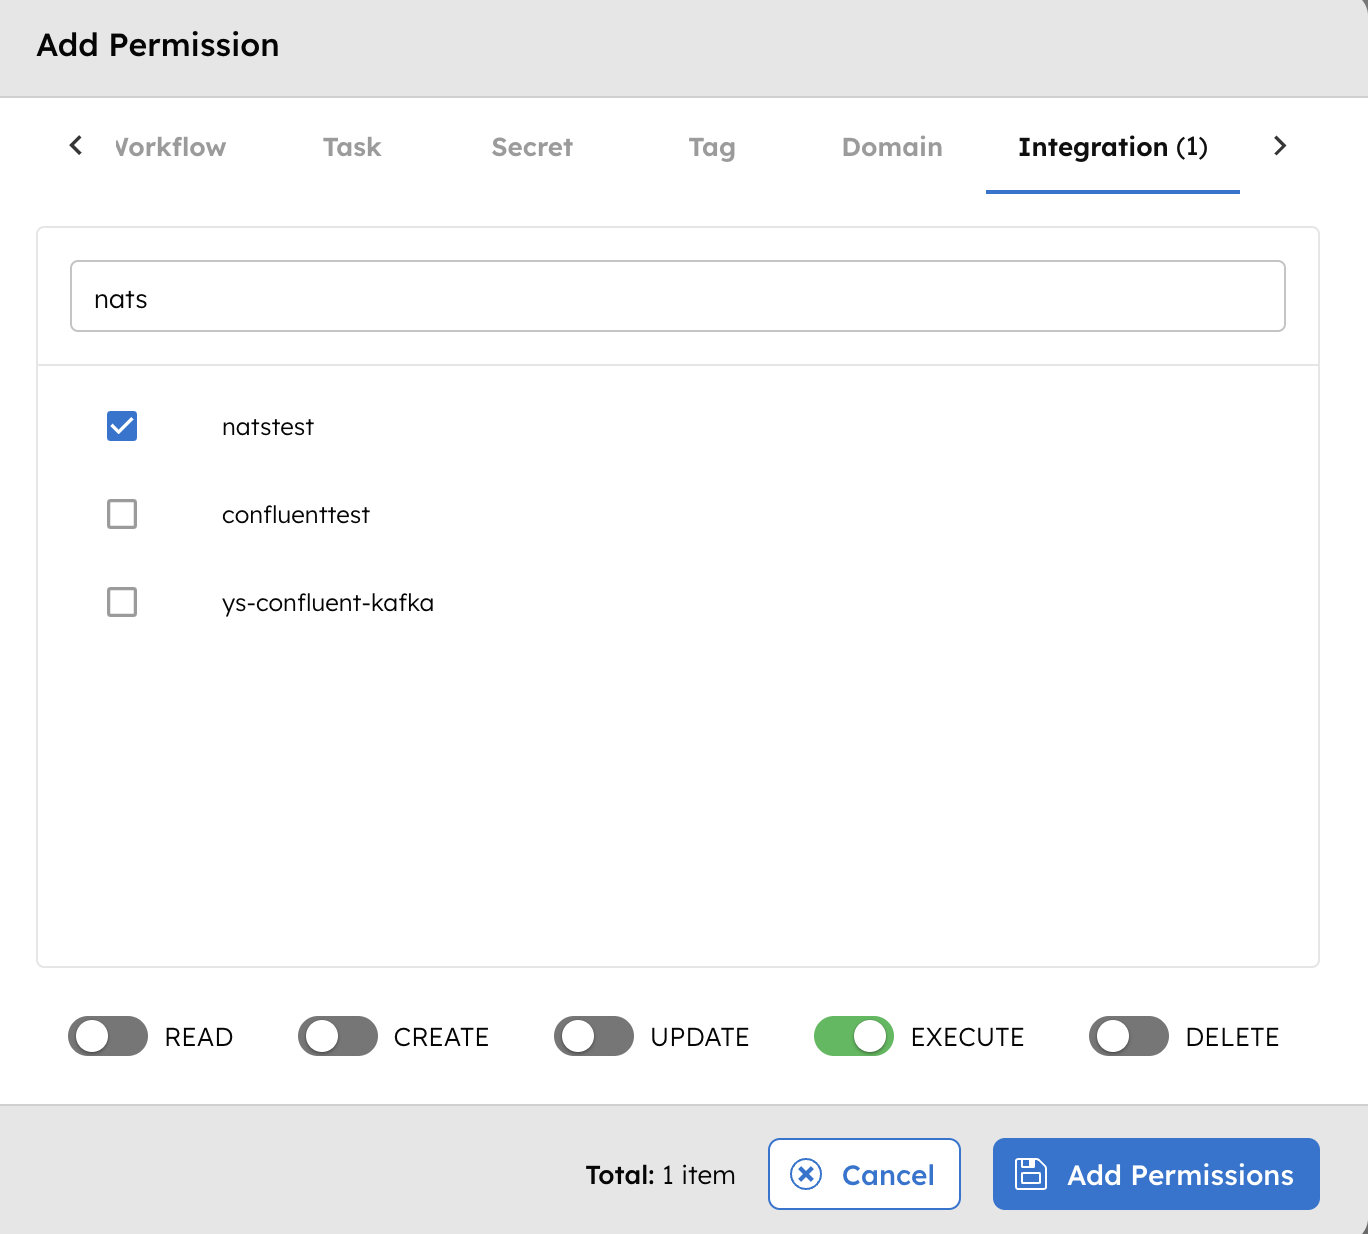
The group or application can now access the message broker according to the configured permissions.
Next steps
With the integration in place, you can now:
- Create Event Handlers.
- Configure Event tasks.
- Enable Change Data Capture (CDC) to send workflow state changes to message brokers.